Stampin’ Up! 23 Sale-a-bration Day At The Farm DSP: Veggies
The Day at the Farm DSP is filled with delightful farm scenes and farm animals, but it also has several sides that are neutral enough to use for any occasion. I found several sentiments that worked with these beautifully colored veggies! Get your pack of paper FREE with a $50 order through the end of Saleabration on 2/28/23 or while supplies last! Please shop with me using my February Host Code Y4DHCWHH (during February) or anytime with the posted current host code at CreateWithKelley.com.
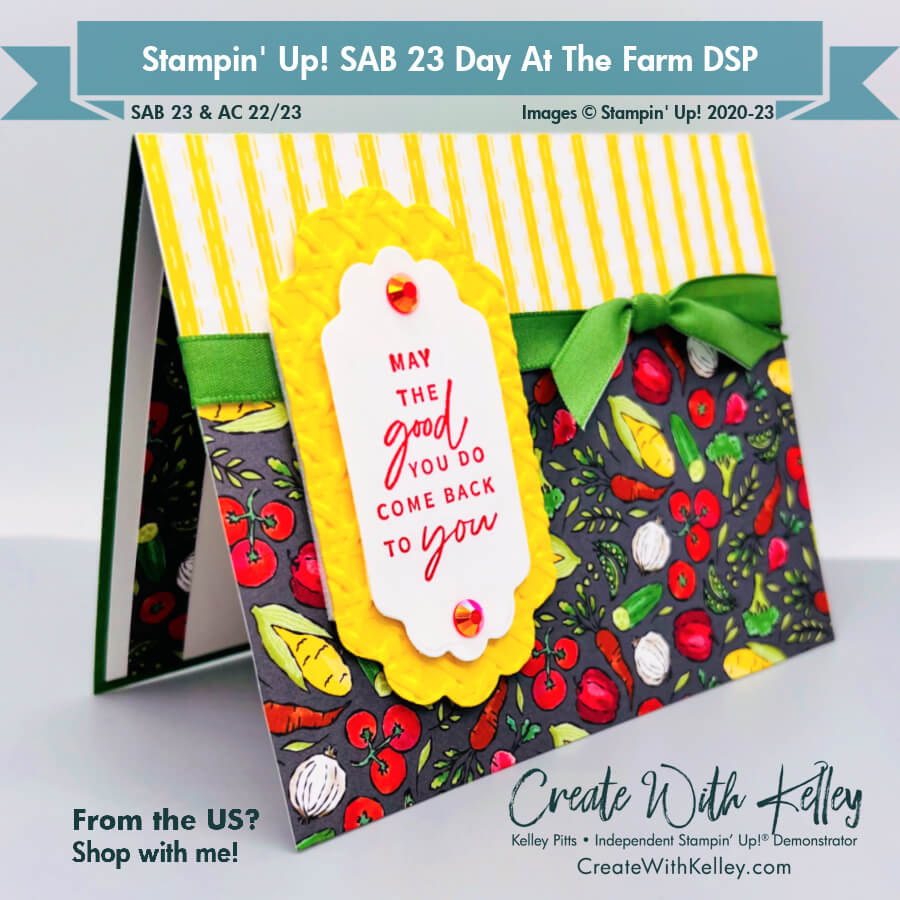
These veggies from the SAB Day at the Farm DSP look good enough to eat! Rich and colorful! I thought this Something Fancy sentiment paired perfectly with healthy veggies.
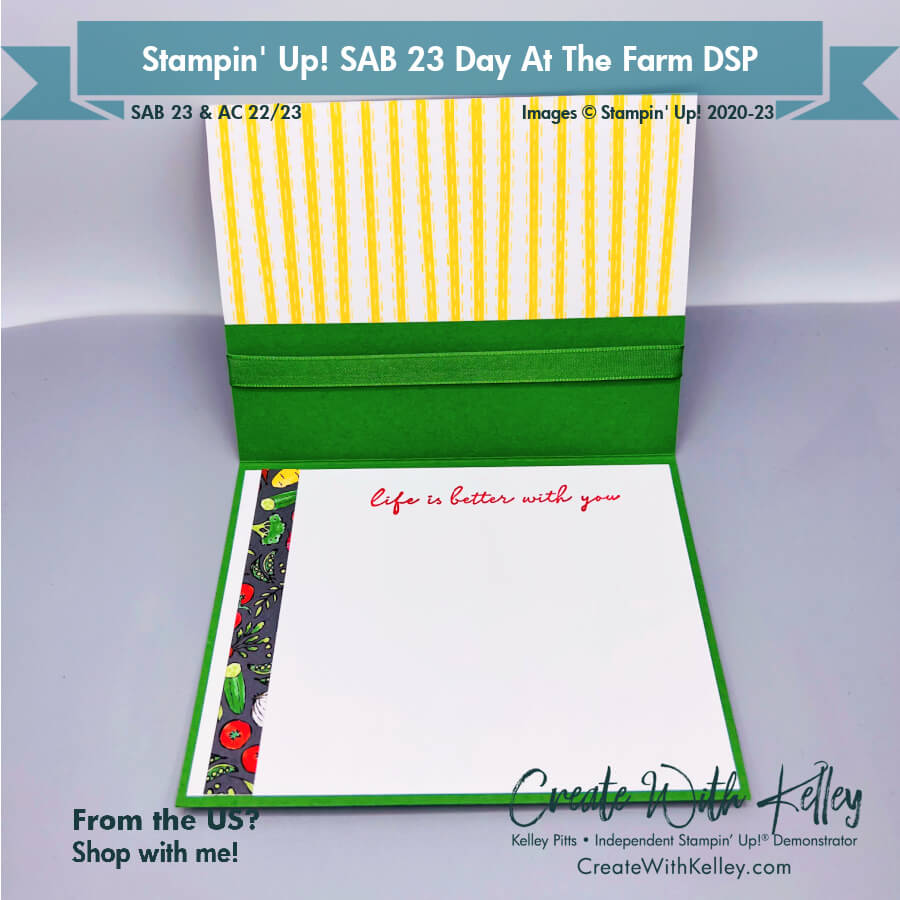
The inside sentiment from Happy Labels works will with the veggies and the sentiment on the front of this landscape version.
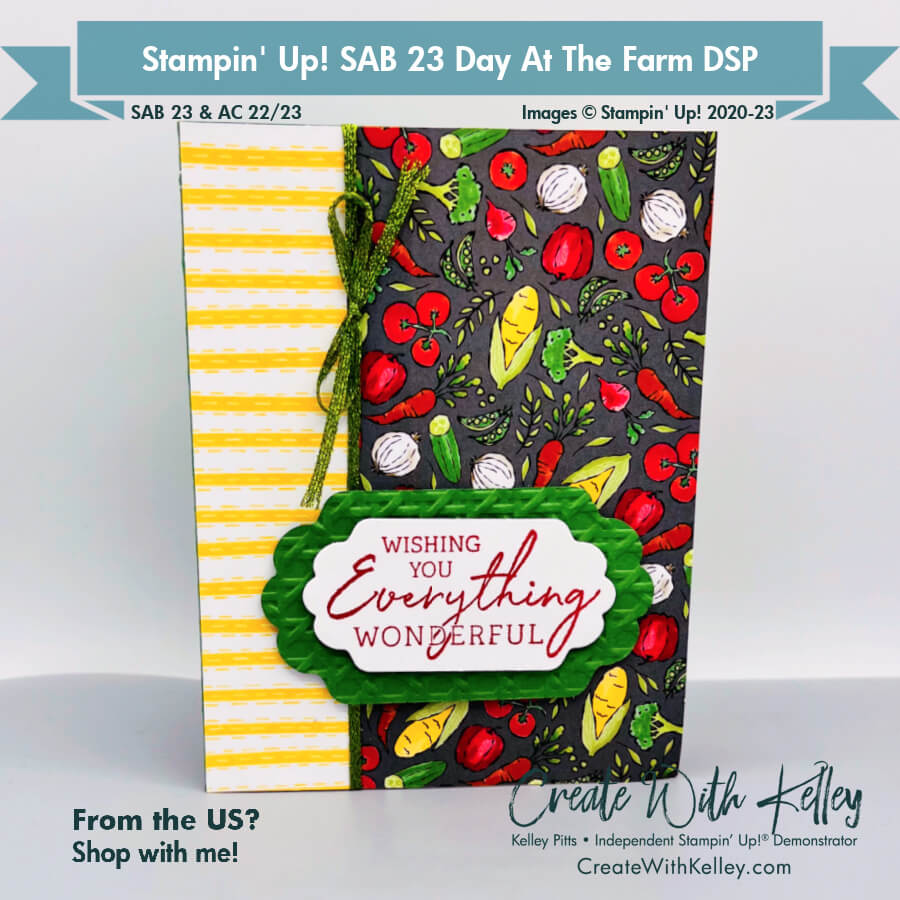
Some folks might not think veggies are wonderful, but I do…so I think this sentiment from Charming Sentiments is fun on this portrait-oriented card.
This simple fun fold works equally well horizontally and vertically and shows off both sides of the Day at the Farm DSP. (Or any other DSP you decide to use!)
Measurements:
- Garden Green cardstock base: 5 ½”x 8 ½”, scored at 4 ¼” then cut down to 5 1/2″ x 6″; and 3 3/4” x 2 ¼” ish scrap to diecut (bottom card option)
- Daffodil delight cardstock: 3 3/4” x 2 ¼” ish scrap to diecut (top card option)
- SAB 23 Day at the Farm DSP: Veggies side: 5 1/2″ x 3 1/4″; stripe side 5 1/2″ x 1 1/4″, veggies side strip for inside 1/2″ x 4″
- Basic White cardstock: 4″ x 5 1/4” for inside; plus 1 3/4” x 3” ish scrap to diecut for sentiment layer
Instructions:
- Cut DSP based on direction of the stripes so they’ll be going the way you want them to.
- Fold the front 1 3/4″ flap at scoreline.
- Line up the veggie side of the DSP with the back edge of the Garden Green base and adhere to the flap.
- Diecut the greetings from Seasonal Labels or other dies/punces to fit your greetings.
- Texture emboss with 3d Cane Weave folder.
- Stamp greetings in Poppy Parade, Real Red or Garden Green as desired.
- Wrap ribbon around and tie knot.
- With Dimensionals, pop up the white sentiment onto the green or yellow layer, then pop it up and attach to card base either vertically or horizontally.
- For more details:
- Find my 2/21/23 Facebook Live video with details on my Facebook page Create With Kelley or my You Tube Live on my Create With Kelley Pitts channel. Please like/share/subscribe to show that you’ll enjoy more free content from me!
THE TWO PRODUCT LISTS BELOW ARE SPLIT to show SPECIFIC items you’ll need for this card and another BASIC LIST OF ITEMS you’ll use for this card and most cardmaking/papercrafting projects.
SPECIFIC ITEMS FOR THIS CARD Product List:
|
|
|||
|
|
|||
|
|
|
||
ADDITIONAL BASICS FOR EVERYDAY USE Product List:
|
|
|
|
|
|
|
|
|
|
|
|
|
|
|
|
|
When you subscribe to my blog at CreateWithKelley.com and sign up through my Mailchimp form you’ll receive emails about classes, Stampin’ Up! promotions, sales, etc.
I’d love to hear your comments and I’ll be happy to answer any questions. Thanks! Hope you’ll join me for in-person classes, Class-To-Go kits and online classes soon! FUN times ahead!
Kelley Pitts (Create With Kelley) Contact Information:
- Address: PO Box 64334, Lubbock, TX 79464-4334
- Cell: (806) 790-0061
- Email: kelley@createwithkelley.com
- Mailchimp Email signup . Please choose your email preferences when you signup.
- Website/blog/shopping/calendar: CreateWithKelley.com
- Facebook business PAGE (Create With Kelley) Please like/subscribe/follow and share my videos!
- Facebook GROUP (Create With Kelley Crew) Please join!
- Facebook & You Tube Lives via Streamyard: Saturdays at 10:30 am CST (unless otherwised notified)
- You Tube channel: Create With Kelley Pitts
- Pinterest: Create With Kelley


Leave a Reply