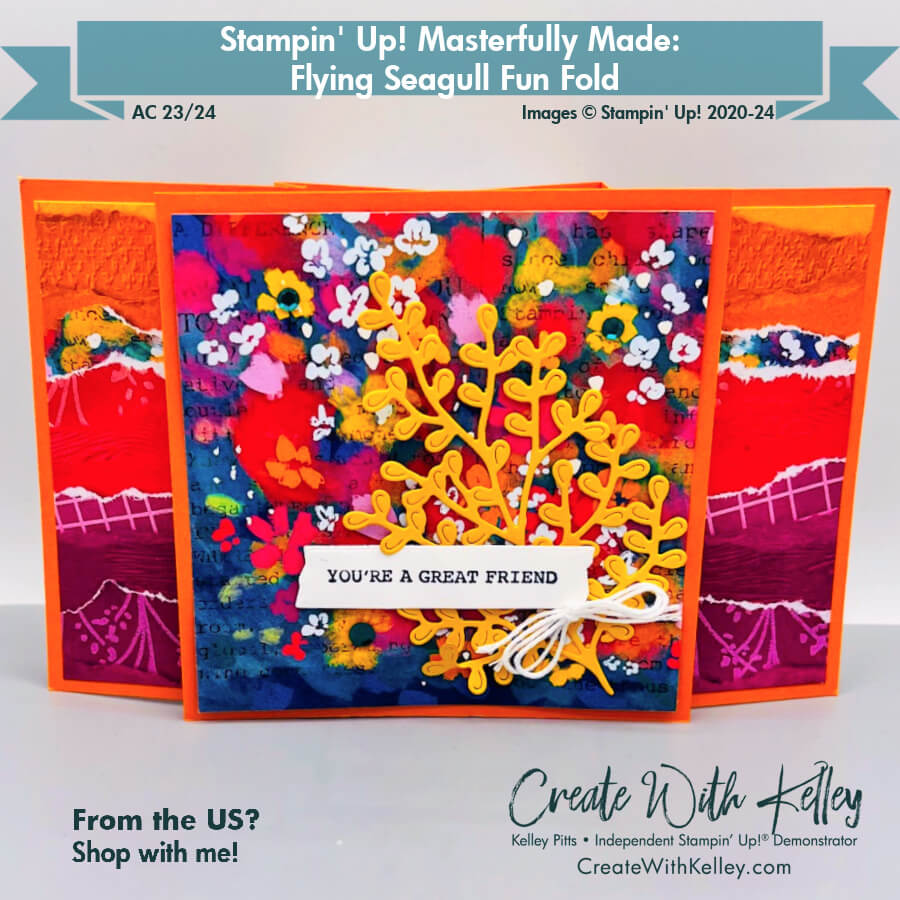
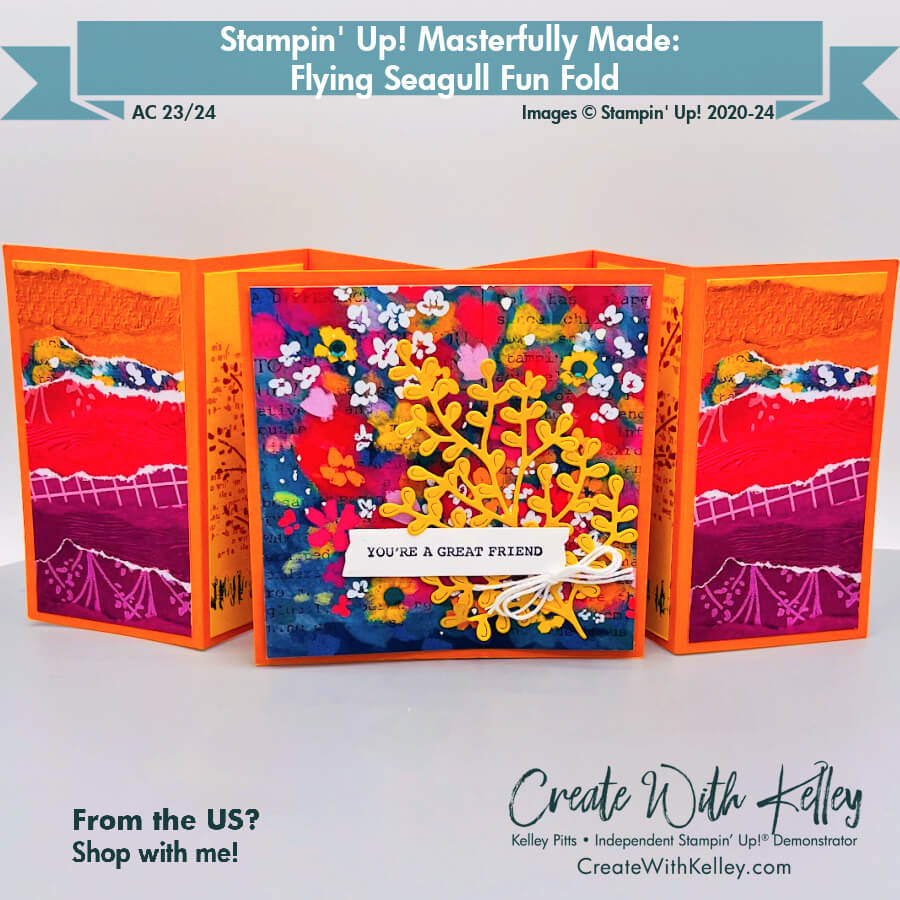
CWK Marvelously Made Suite Class-to-go Card 4: Flying Seagull
Many thanks to Susan Campfield from SueStampfield.com for this lovely Flying Seagull Fun Fold template! I just chose different colors and DSP to create an entirely different look. Fun!
LOVE this BRIGHT mix of gorgeous colors and textures!
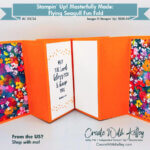
Using two white panels on the back allows you to stamp sentiments on one and write your message on the other.
Measurements:
- Pumpkin Pie cardstock: 8 ¼” x 4 ¼” (x2) scored at 2 ¼”, 4”, 6 ¼”; and 4 ¼” x 4 ¼”
- Crushed Curry cardstock: 1 ½” x 4” (x2); and 3” x 4 ¼” to diecut
- Masterfully Made DSP peacock floral: 4” x 4” and 2” x 4” (x2)
- Masterfully Made DSP torn paper multi: 2” x 4” (x2)
- Basic White: 2” x 4” (x2); and scrap for sentiment label
- Twine: 14” ish for double bow
Instructions:
- Cut, score and diecut as noted and pictured.
- The easiest way to do the fold is to watch Suestampfield.com do it. (Or watch my video once I get it posted.)
- NOTE: The two large cardstock base pieces are scored and folded the same way, but one will be then flipped horizontally so that it mirrors the other piece.
- Fold each of the two large cardstock base pieces with mountain fold on the 2 1/4″ score end, then valley fold at 4″, then another valley fold at 6 1/4″.
- Flip one cardstock side to side to mirror the other one so that both outer flaps are the mountain fold with the 2 1/4″ flap (widest end…beside the skinny section) on the outsides.
- Then flip both pieces over top to bottom, tuck each 2″ flap (skinniest flap…beside the wide section) underneath; line up the score lines and add a post it note to keep them together side by side.
- Flip the pieces over again so the post-it note is on the bottom side (now combined it will look like mountain, valley, valley, valley, valley, mountain).
- Adhere the 4 1/4″ x 4 1/4″ Pumpkin Pie piece to the folded back flaps, forming the central square focal point.
- Adhere 4″ x 4″ floral DSP with Dimensionals (or flat if you prefer) to the square Pumpkin piece.
- Strategically adhere Crushed Curry leafy diecut with liquid glue as desired to front square panel.
- Stamp collage type layers onto Curry panels using Gorgeously Made stamps: Typed words in Crushed Curry, leafy plant in Berry Burst, grass in Pretty Peacock.
- Stamp scripture from Courage & Faith in Pretty Peacock onto back panel and stamp dots in Pumpkin Pie. Leave one panel blank for writing or stamp both if desired.
- Stamp sentiment onto diecut label and adhere with Dimensionals over Curry leaves.
- Remove the post it note, then adhere remaining DSP and card stock layers as pictured.
- Add twine bow and/or embellishments as desired.
- See my July 8, 2023 LIVE video with details on these links on my YouTube channel: Create With Kelley Pitts and my Facebook page: Create With Kelley.
Product List:
|
|
|
||
|
|
|||
|
|
|
Typical Additional Basic Product List:
|
|
|
|
|
|
|
|
|
|
|
|
|
|
|
|
|
Just subscribe to my blog at CreateWithKelley.com and sign up through my Mailchimp form to receive emails about classes, etc.
I’d love to hear your comments and I’ll be happy to answer any questions. Thanks! Hope you’ll join me for in-person classes, Class-To-Go kits and online classes soon! FUN times ahead!
Kelley Pitts (Create With Kelley) Contact Information:
- Address: PO Box 64334, Lubbock, TX 79464-4334
- Cell: (806) 790-0061
- Email: kelley@createwithkelley.com
- Mailchimp Email signup . Please choose your email preferences when you signup.
- Website/blog/shopping/calendar: CreateWithKelley.com
- Facebook business PAGE (Create With Kelley) Please like/subscribe/follow and share my videos!
- Facebook GROUP (Create With Kelley Crew) Please join!
- Facebook & You Tube Lives via Streamyard: Saturdays at 10:30 am CST (unless otherwised notified)
- You Tube channel: Create With Kelley Pitts
- Pinterest: Create With Kelley


Leave a Reply