Butterfly Brilliance Pocket Plus Mini For Kylie’s International Highlights March 2021
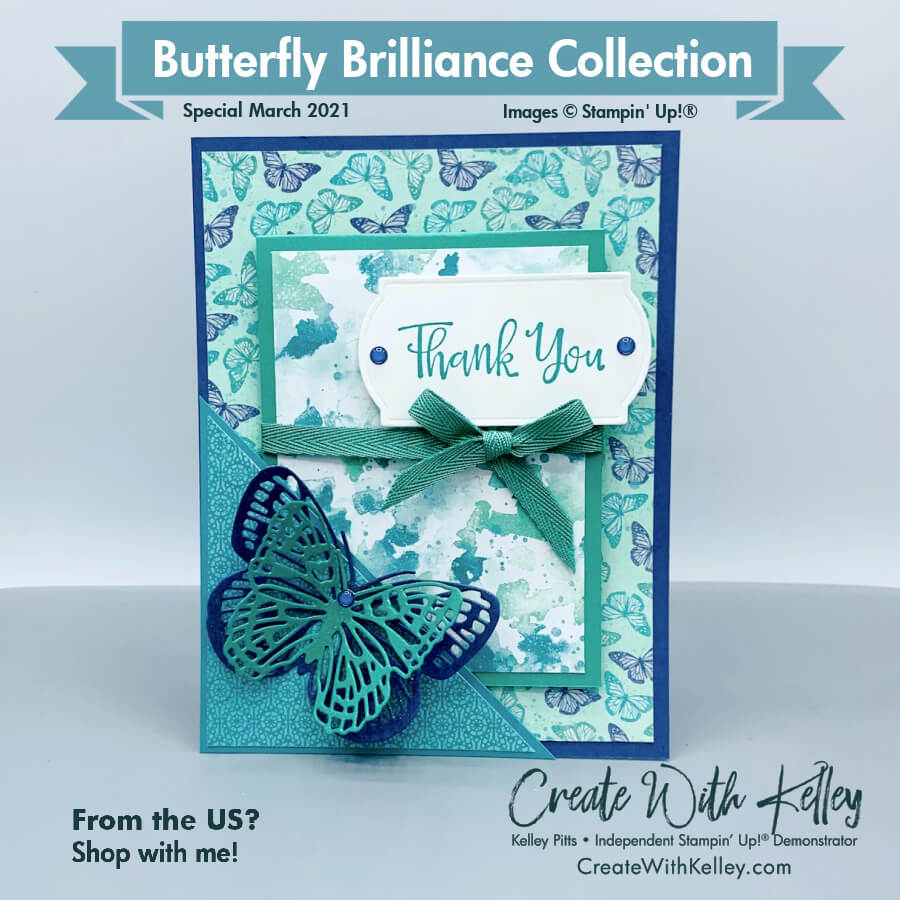
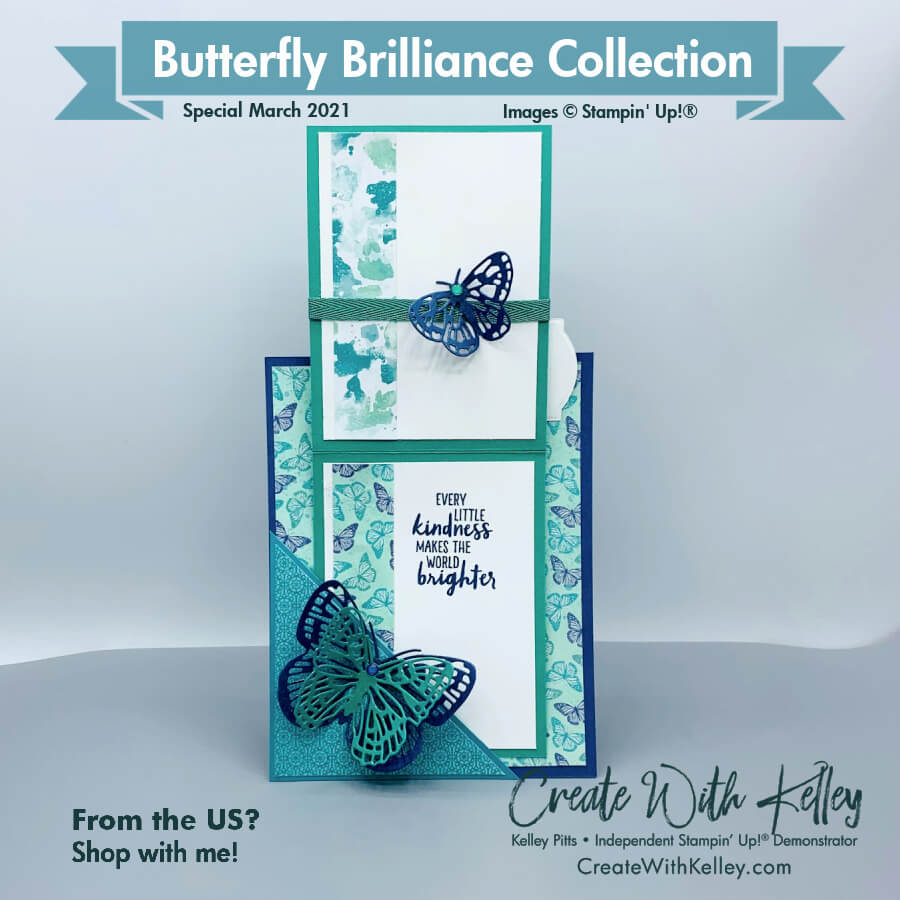
I LOVE creating with this gorgeous color combination featured in the Butterfly Bijou DSP. See more photos of this card below!
I’m thrilled to share my Butterfly Brilliance Pocket Plus Mini card for Kylie Bertucci’s March 2021 International Highlights.
Doesn’t a beautiful handmade card say “Thank You” in a way nothing else can?
- I watched Mary Knabe’s video featuring this card with the Sand and Sea Suite and decided it would be perfect for the Butterfly Brilliance Collection also!
- I just changed the measurement for the triangle pocket so I could make multiple cards from one DSP sheet.
- My March Thank You card measurements, instructions and product list are below the following International Blog Highlights information.
- I’m excited to participate again in Kylie’s International Blog Highlights with my March Thank You card that will be featured in my Butterfly Brilliance Collection class this month.
- I hope you’ll take time to vote for up to five of your favorite cards from the highlights. (Hopefully including mine!)
- Just click: VOTE FOR MY CARD! then select my card (probably #41) by clicking the heart on the upper right of the photo.
- You’ll know you’ve voted for it when the heart turns red.
- The top ten winners based on your votes will be able to participate in the actual International Blog Hop at the end of March.
- One of my goals this year is to make it into the top ten at least once!
If you are receiving this blog update by email you can click HERE to see the amazing gallery.
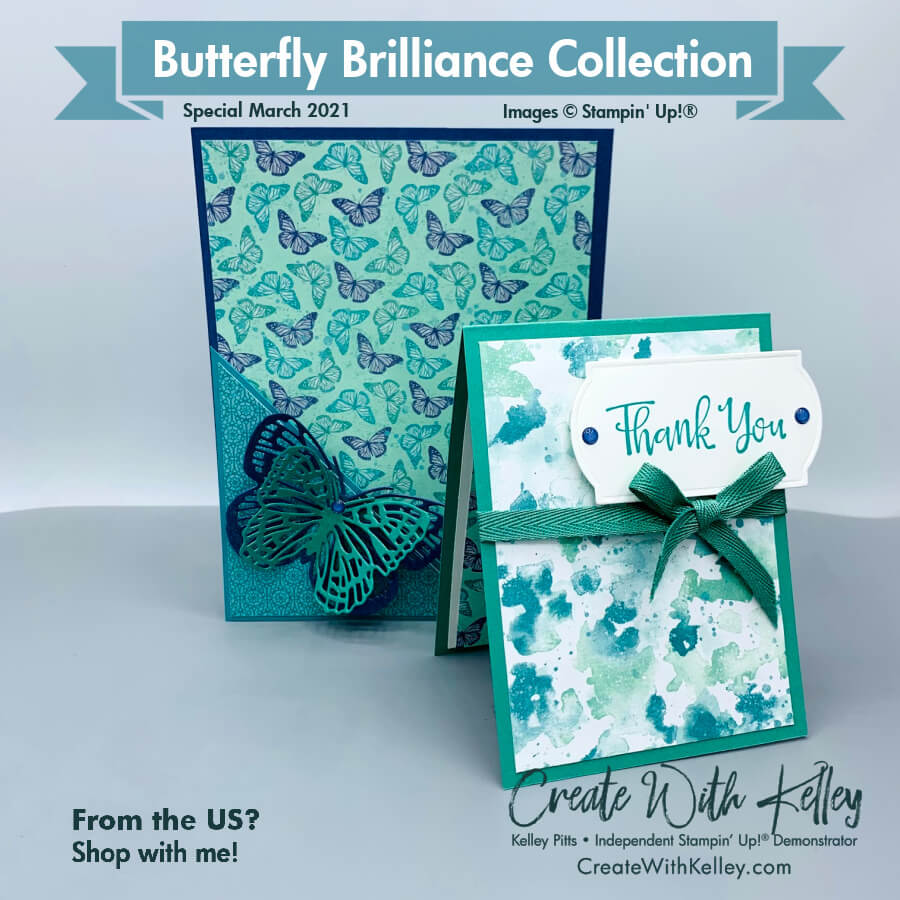
What a cute mini card pulled out of its pocket and sitting in front of the base pocket card.
Measurements:
- Misty Moonlight card stock: 4 1/4″ x 5 1/2″
- Misty Moonlight card stock scrap to diecut butterfly
- Just Jade card stock 8″ x 3″, scored at 4″
- Just Jade card stock scrap to diecut butterfly
- Bermuda Bay card stock 3 1/4″ square, cut diagonally in half (can choose 3 1/2″ square instead)
- Butterfly Bijou DSP 4″ x 5 1/4″ for base
- Butterfly Bijou DSP 3″ square, cut diagonally in half (can choose 3 1/4″ square instead but you’ll only get one out of a 6″ x 6″ DSP)
- Butterfly Bijou DSP 3 3/4″ x 2 3/4″ for front of mini
- Butterfly Bijou DSP 3/4″ x 3 3/4″ (2 pieces) for inside
- Basic White card stock: 2 3/4″ x 3 3/4″ (2 pieces), plus scrap for greeting
- Just Jade 2020-2022 In Color Ribbon: 16″
Let me here you say “oooooooo” with the open mini card tucked back into the pocket base. How pretty these butterflies are!
Instructions:
- Cut and score cardstock and DSP per Measurements section above.
- Stamp Thank You greeting from the Peaceful Moments stamp set with Bermuda Bay ink onto a Painted Label diecut (or any die or punch of your choice.)
- Stamp inside greeting from the Waterfront stamp set (or another of your choice) with Misty Moonlight ink.
- Diecut 2 butterflies from Misty Moonlight cardstock and 1 butterfly from Just Jade cardstock using Brilliant Wings dies, then add Wink of Stella all over them.
- Center the Bermuda Bay square diagonally on your paper trimmer, with one corner toward the top of the groove and the opposite corner centered below.
- Instead of just cutting straight up or down from one corner to the other (which can damage the corner), put the blade somewhere between them and cut up, then back down.
- Use one triangle for this card and use the other half for a second card.
- Repeat the previous step for the DSP square.
- Adhere all DSP and cardstock per photos with liquid glue, except for the triangle pocket.
- Adhere the 2 layer corner pocket onto the base only on the left and bottom of the triangle.
- Use Tear & Tape or liquid glue, with the folded mini card sticking in the pocket so you’re sure there’s enough room for it to fit.
- Adhere the two large butterfly bodies (larger on bottom) to each other and then to the main card base.
- Wrap ribbon around the front of the mini card and tie bow.
- Allow room below the ribbon to fit into the pocket and leave room above for the greeting.
- Adhere greeting with Dimensionals.
- Be careful to let the label hang over the edge without a Dimensional showing behind it.
- Add Moonlight and Jade In Color Enamel dots to greeting and butterflies as desired.
Before you head off to make this card, please vote for me first at this link: VOTE FOR MY CARD!
I hope you’ll also subscribe to my blog at CreateWithKelley.com . I’d love to hear your comments and I’ll be happy to answer any questions. I’m offering a full PDF tutorial on request from Kylie’s Demonstrator Training group, or you’ll get it when you purchase my Butterfly Brilliance Collection Class-To-Go. Thanks! FUN times ahead!
Product List:
|
|
|||
|
|
|
||
|
|
|
||
|
|
|
|
|
|
|


What a lovely project.
Thanks! Glad you like it!
Gorgeous card with a gorgeous colour combination! Thanks Kelley for being part of my International Blog Highlights this month and all the best with voting!
Thanks!
Oh I love this, what a great surprise, I had no idea the card popped out like that, thx for the inspiration! Beautiful colours and great directions!
Thanks! I’m still fairly new at typing out directions, so I’m glad to hear they work for you.