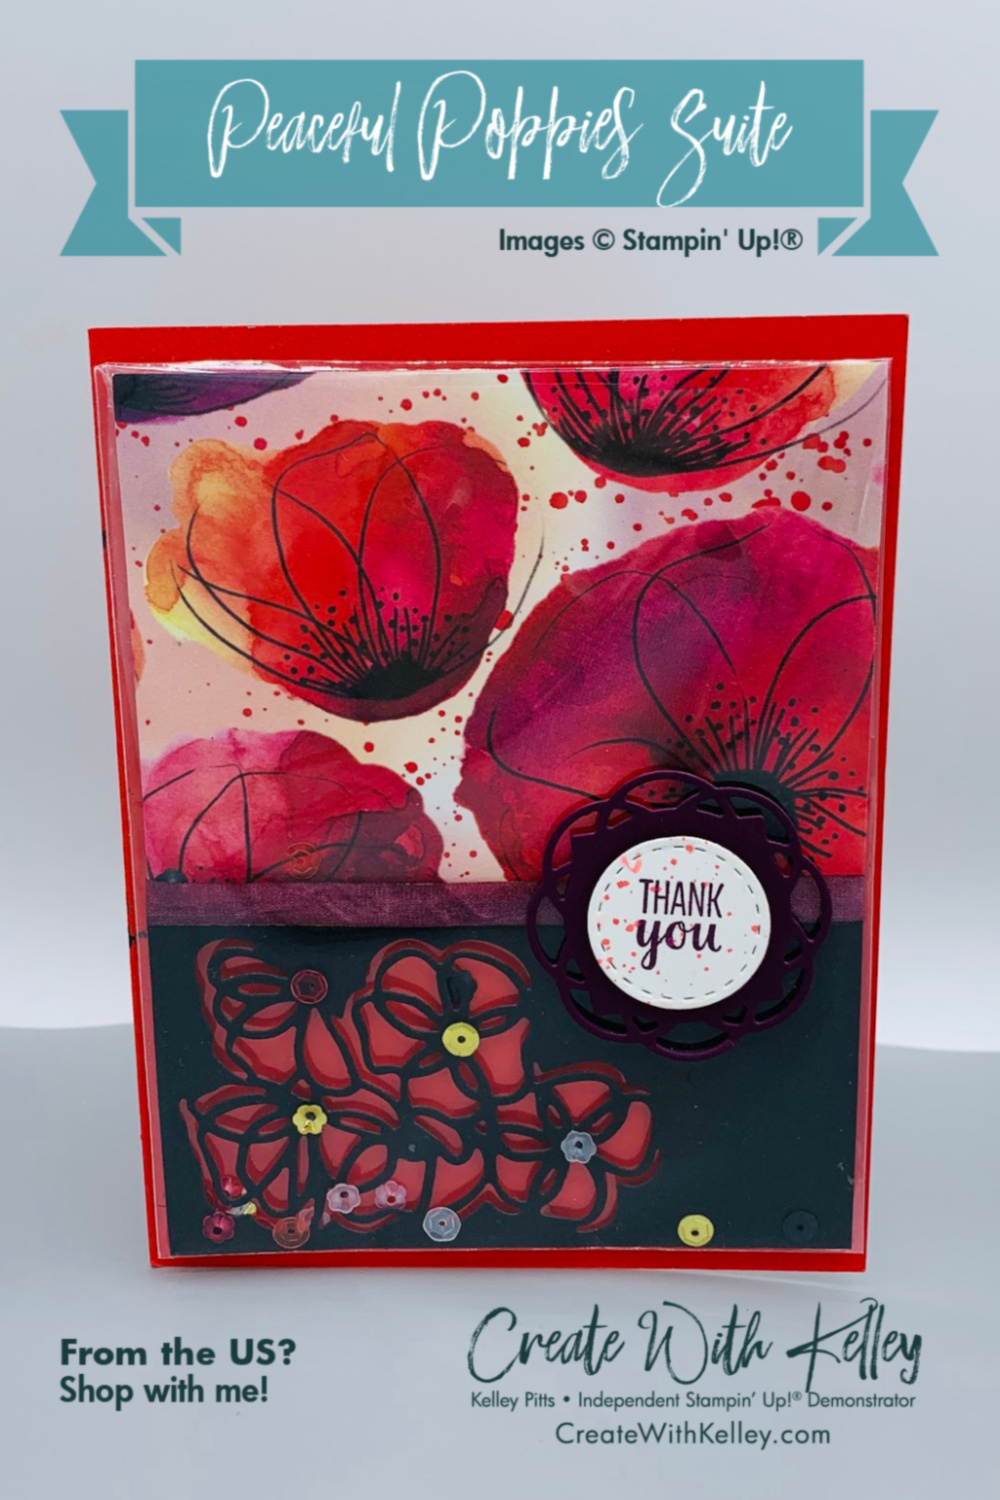

This Peaceful Poppies Suite Clear Envelope Shaker Card was an adaptation of some cards I saw online. You Tube videos by Jenn Houston with the Artsy Fartsy Gallery inspired me to create my version of a shaker card using a clear envelope. Simply change your card’s greetings to suit any occasion. My Techniques class participants really enjoyed playing with the Aqua Painter, markers, blends and dies while creating a new kind of shaker. If you’re an avid crafter who doesn’t need my supply list and instructions, you can skip to this post’s end and start shopping at my online store. Thanks!
Measurements:
- 8 1/2″ x 5 1/2″ Poppy Parade card stock scored at 4 1/4″
- Peaceful Poppies DSP 3″ x 4″ (large bright modern flowers sheet)
- Basic Black card stock 2 1/2″ x 4″
- Whisper White 4″ x 5 1/4″ for inside layer
- 6″ or so ribbon
- Whisper White cardstock scrap for greeting
- Blackberry Bliss cardstock scrap
Instructions:
- Diecut the multi flower outline cutout from the Poppy Moments Dies toward the bottom left hand corner of the black cardstock.
- Carefully adhere the DSP to the black cardstock (it overlaps 1/4″) so there’s no excess glue to attract sequins.
- Die the ribbon using Blackberry Bliss or Rich Razzleberry dark Stampin’ Blend. (I used silicon mat and ran the side of the brush tip over the ribbon and let it dry for a few seconds, then wiped up the mess off the mat and let ribbon finish drying on scrap paper elsewhere.)
- Mount (dry) ribbon to cover line between DSP and card stock.
- I recommend gluing a window sheet behind your cutout so that fewer sequins are invisible while trapped by adhesive. (I didn’t think of it until a customer suggested it at a class.)
- Glue sequins to the center of the cutout flowers.
- Insert finished layer and additional sequins into the clear envelope.
- Strip the top off the back flap of the envelope and close the envelope, leaving some little wiggle room. Use scotch tape to seal it all up.
- Add Tear and Tape around the perimeter and in the middle of the envelope, then mount it to your Poppy Parade card base.
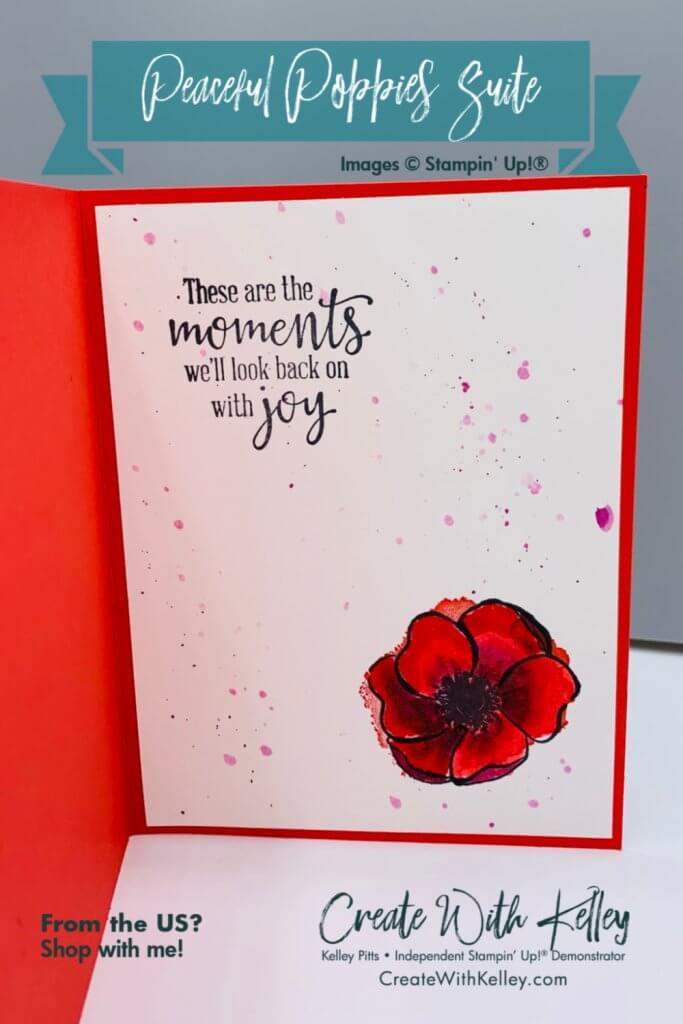
- Stamp the card’s inside layer with Memento ink and color flower with Blends.
- Diecut the decorative circle out of Blackberry Bliss paper using the Painted Labels die.
- Stamp a greeting in Rich Razzleberry ink onto scrap white paper, then diecut the circle from the Stitched Shapes dies. (Yikes, I think my greeting may be retired…but several different ones will fit.)
- Dip the Aqua Painter into Rich Razzleberry ink while squeezing some water into the brush. Flick/splatter onto the background by holding the Aqua Painter in one hand and hitting it against the forefinger of the other hand. The droplet strength varies based on how far back you are from the paper and how watery you’ve made the ink. I recommend putting your cardstock in a box so it doesn’t splatter everywhere, and practice on scrap paper first to get the look you want. (Yep, that’s experience talking!) I used the same technique to splatter Poppy Parade ink onto the stamped greeting for the front. I thought the red splatter showed up best on the front greeting, but I switched to purple splatter inside.
- Use Stampin’ Dimensionals to attach the greeting to the diecut and then attach the stacked set to the front of the clear envelope.
If you want to order this entire Peaceful Poppies Suite with just one button, here’s the magic link when you click here: Suite. Or click on the product links below to purchase products used to create this card. Or shop anytime in my online store. I’m just starting my blog, so I’d really appreciate your sharing my project on your favorite social media platforms. Thanks for your interest and your helpful comments. Contact me today to help you unleash your creativity!
Product List:
|
|
||||
|
|
|
|
|
|
|
|
|
|
|
|
|
|
|


Leave a Reply