Ho! Ho! Ho! Stampin’ Up!’s Night Before Christmas Suite from the 2019 Holiday catalog encourages beginners to try their hand at creating handmade Christmas cards.
I designed a class where 6 beginners could easily make 8 cards each in about 3 hours. It’s also a quick and easy way for busy experienced papercrafters who need to make several dozen cards without spending huge blocks of time to do it.
My SIMPLE designs featured the Night Before Christmas Suite’s Memories and More Card Pack (separated out into 6 sets to make a total of 48+ cards) plus the coordinating Cards & Envelopes (you’ll need about 2 1/2 packages for each Card Pack), plus half a package of the Suite’s Designer Series Paper and Cherry Cobbler ribbon. Adding a few accessories, doing some fussy cutting and a little diecutting really jazzed up the cards without investing much extra time or $. (If you have extra time, several of the cards could also use some Wink of Stella, glitter, more bling, etc.)
I tried to incorporate the Suite’s card base stars into the design whenever I could. On the cards where the stars didn’t show on the front I flipped them over to showcase a “Created by…” stamp instead of just covering the stars up. On the inside of each card I used a coordinating 1″ strip of DSP or fussy cut some coordinating images to make the inside match the outside. Stamp whatever sentiments you want inside, or leave room for writing personal messages.
The hardest part of making the cards was deciding which side of each double-sided Memories And More card you wanted to use. I’d recommend doing multiple sets so you can do both! One decision can affect how you make several cards, so lay them out first to determine your preferences. I promise my posts won’t be this long normally, but I wanted to be thorough!
Here’s the Santa I fussy cut then added vellum (cut out with a Stitched Rectangle die) behind him, used some stickers from the Pack, plus a little bit of puff paint.
How jolly!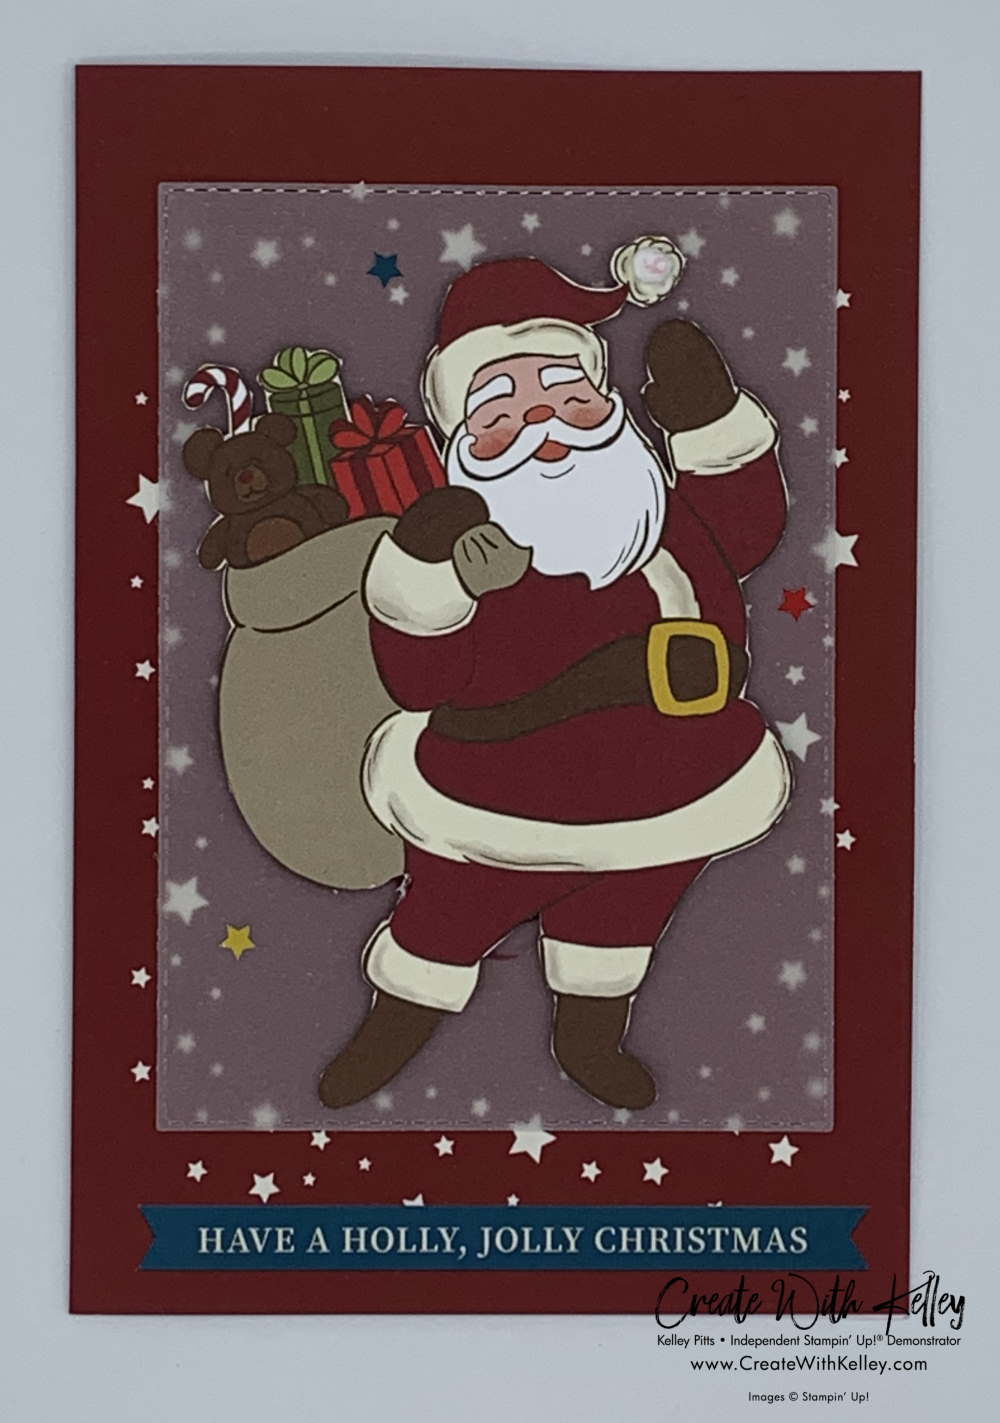
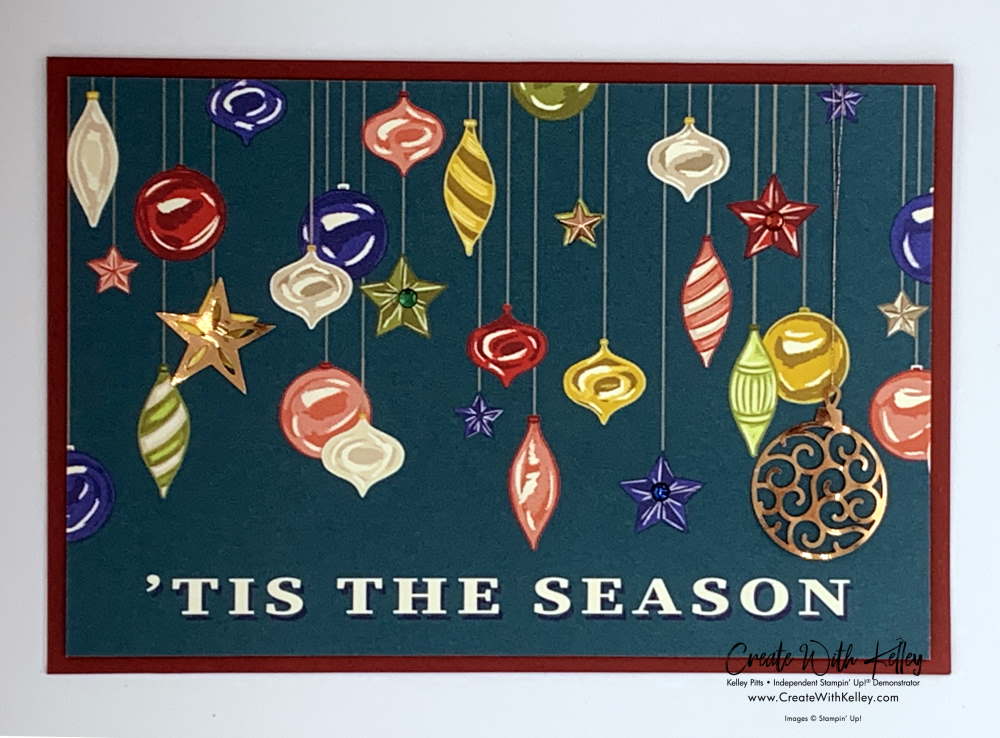
If you can bear to flip Santa to the back, you can add some Holiday Rhinestone Basic Jewels and some of the Brightly Gleaming Foil Elements and Star Designer Elements to quickly jazz up the ‘Tis the Season side of the card.
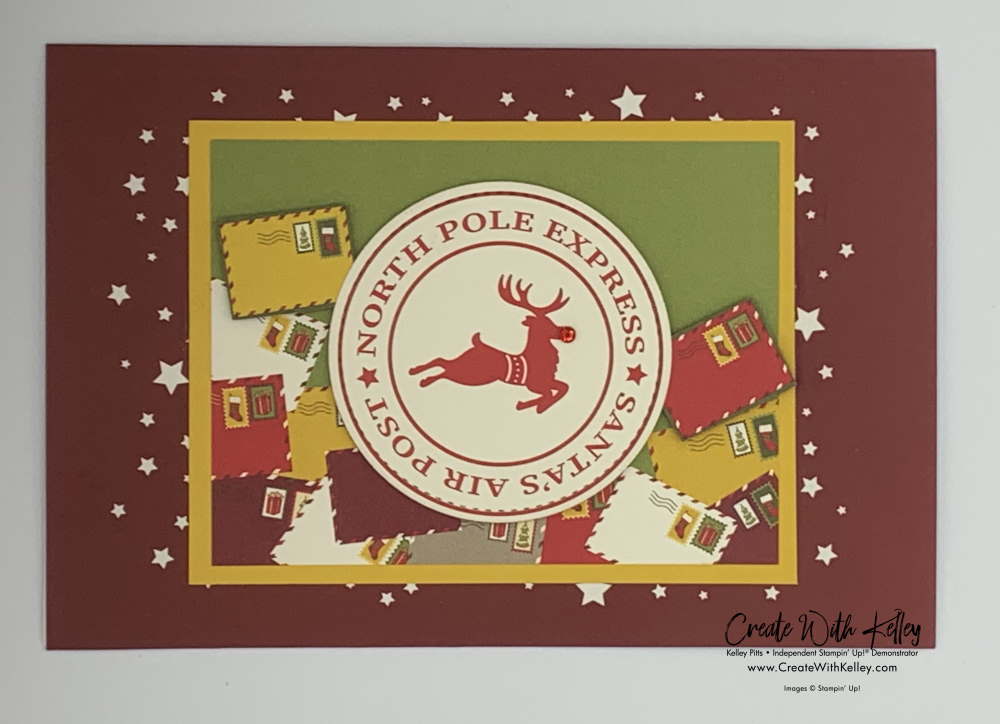
On the North Pole Express card, I magically used both sides of the same card by using the large circle from the Stitched Shapes dies to cut out the circle, then simply flipped it over and popped it up with dimensionals. I fussy cut some mail pieces from the DSP and added them to the pile printed on the card, then added a red rhinestone for Rudolph’s nose for the final touch.
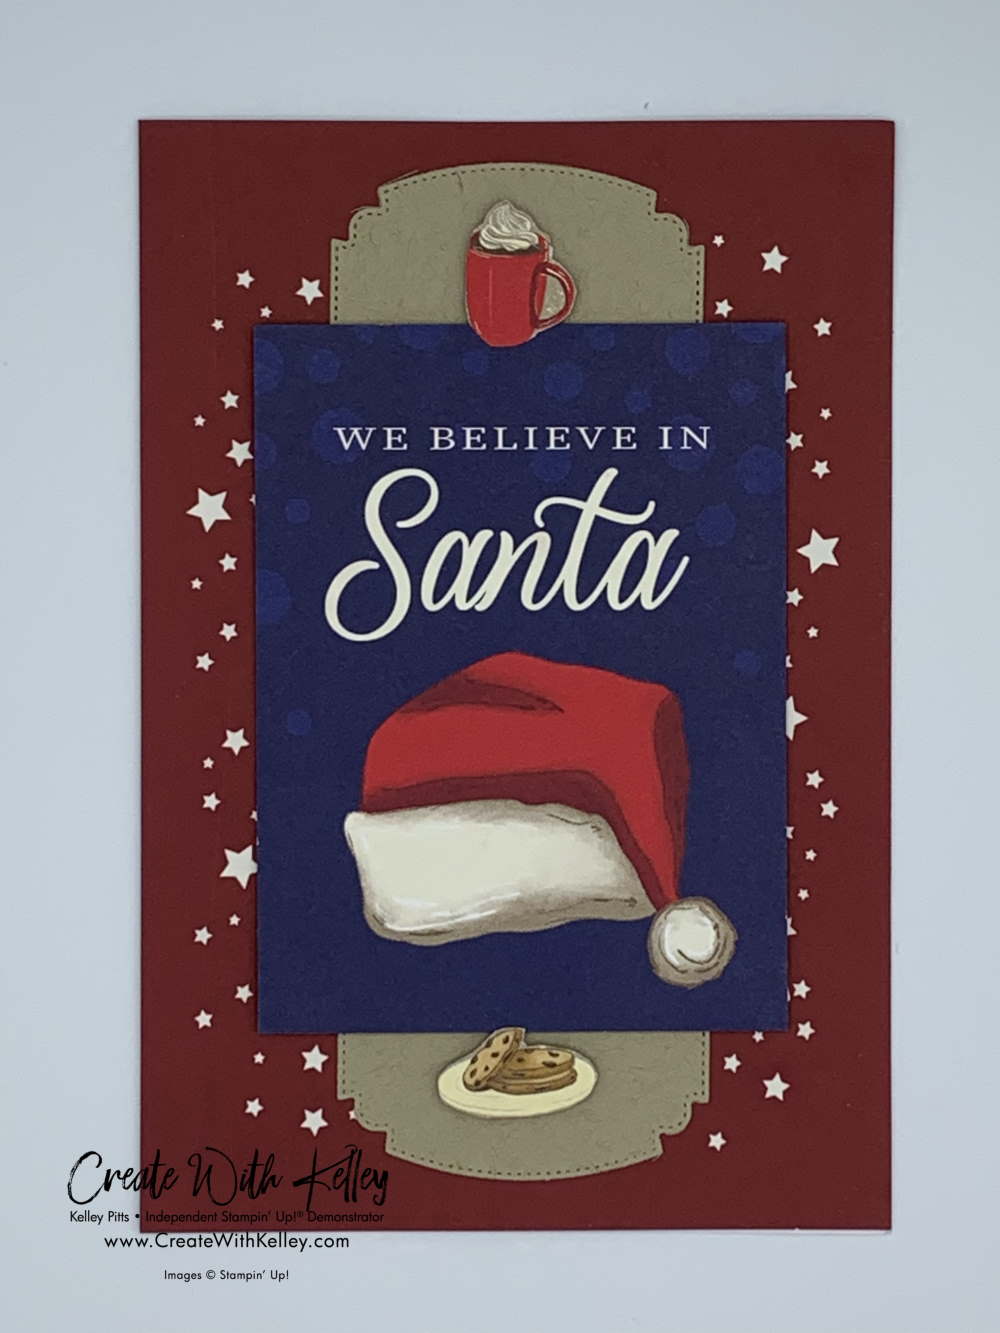
For the We Believe in Santa card from the Pack, I die cut some Crumb Cake accents using an Ornate Frames Die, then fussy cut cocoa and cookies from the DSP.
The Letter To: Santa card begged me to add some ribbon and fussy cut more cocoa and cookies from the DSP. I punched a 2 1/2″ circle of Crumb Cake to use behind the Santa Please Stop Here sticker pointing to the return address you can add onto the card. Wink!
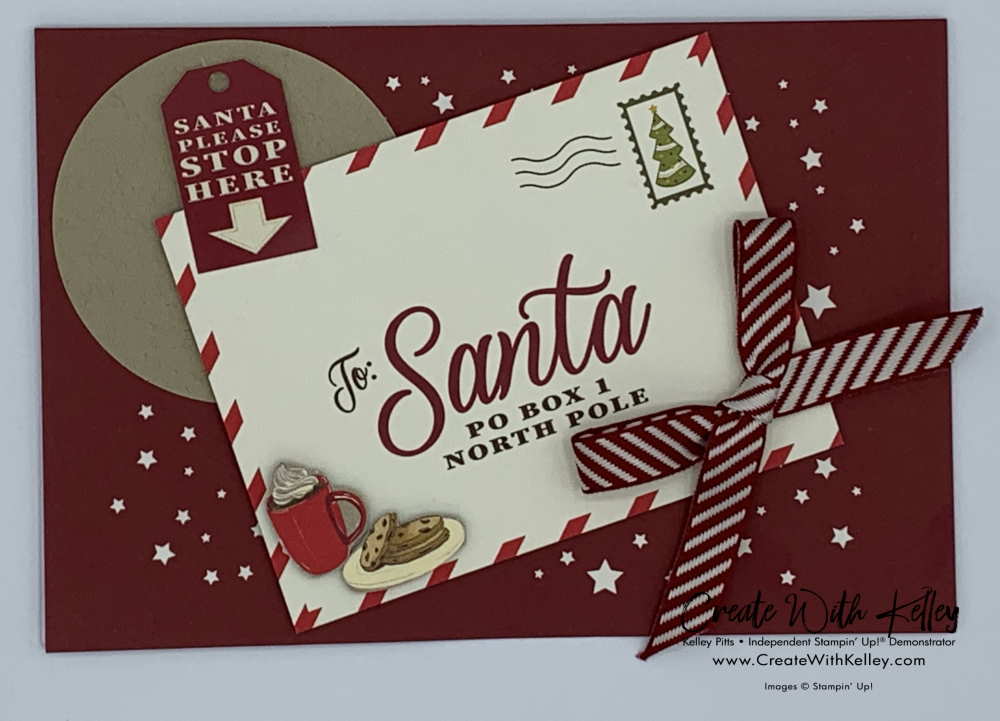
(If you aren’t the Letter to Santa type, check out the alternative using the holly flip side…details later in the post.)
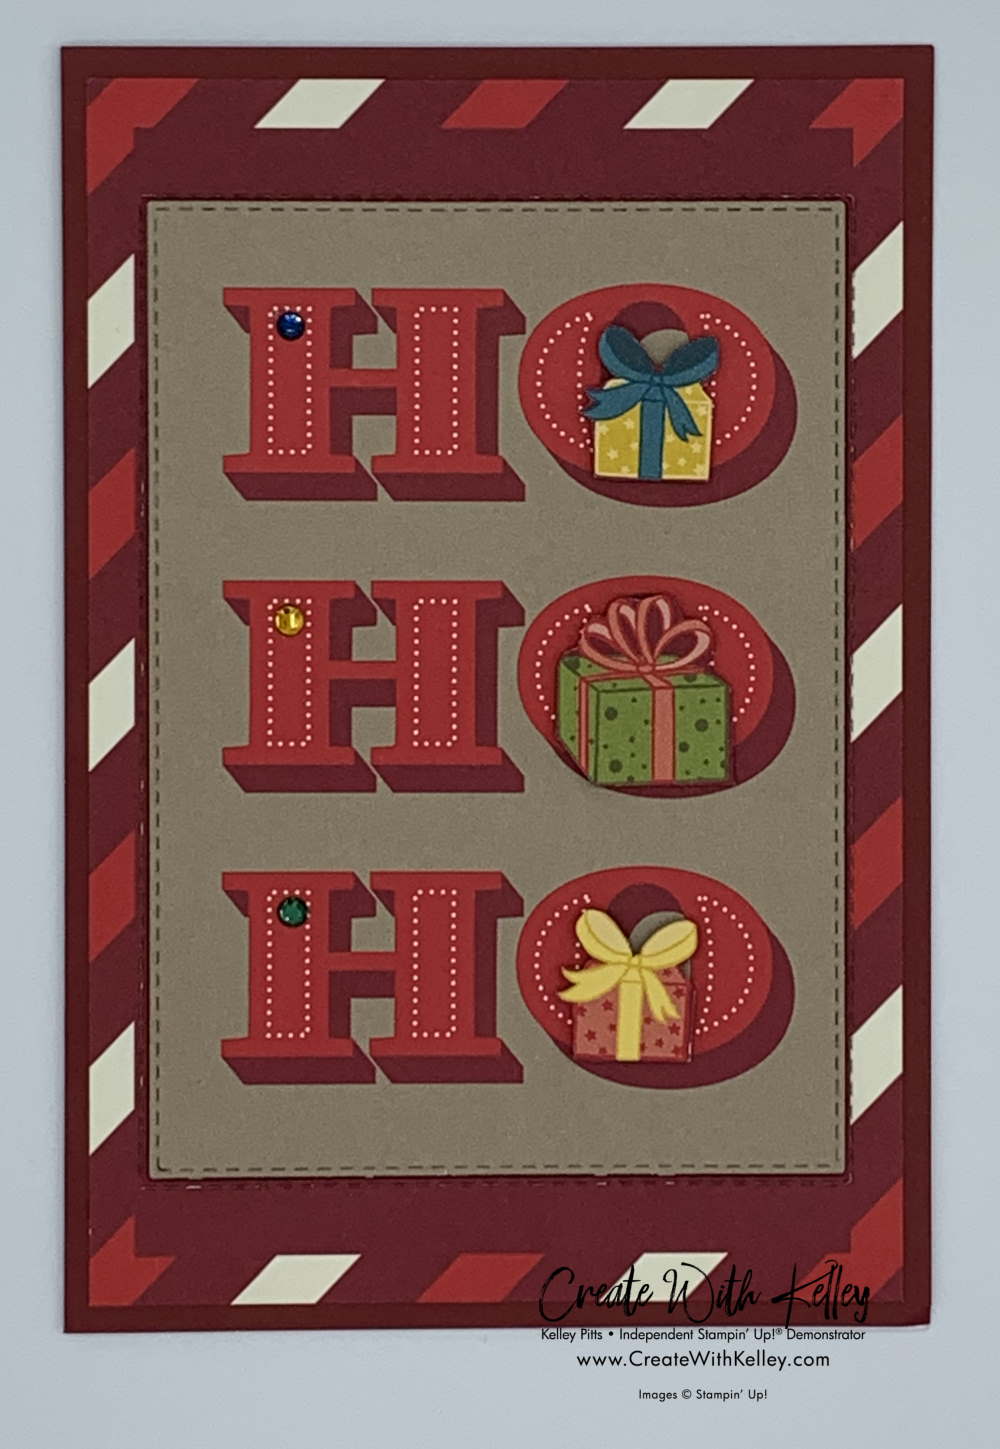
For the next card, cut the HO HO HO out of a card with the Stitched Rectangle die. Save the frame you cut out (it has a peppermint stripe on the back) so youou can use it on another card.
Cut the Have A Holly, Jolly Christmas out of a card and save that piece for the front of another card. Then you’ll flip the remaining striped frame over to use on this HO HO HO card. (Really, this will make sense when you look at the front and back of the cards from the Pack.)
Fussy cut some gifts from a sheet of DSP, add a few Holiday Rhinestone Basic Jewels and add them to the HO HO HO. Glue the striped frame flat and dimensional the HO HO HO. Easy!
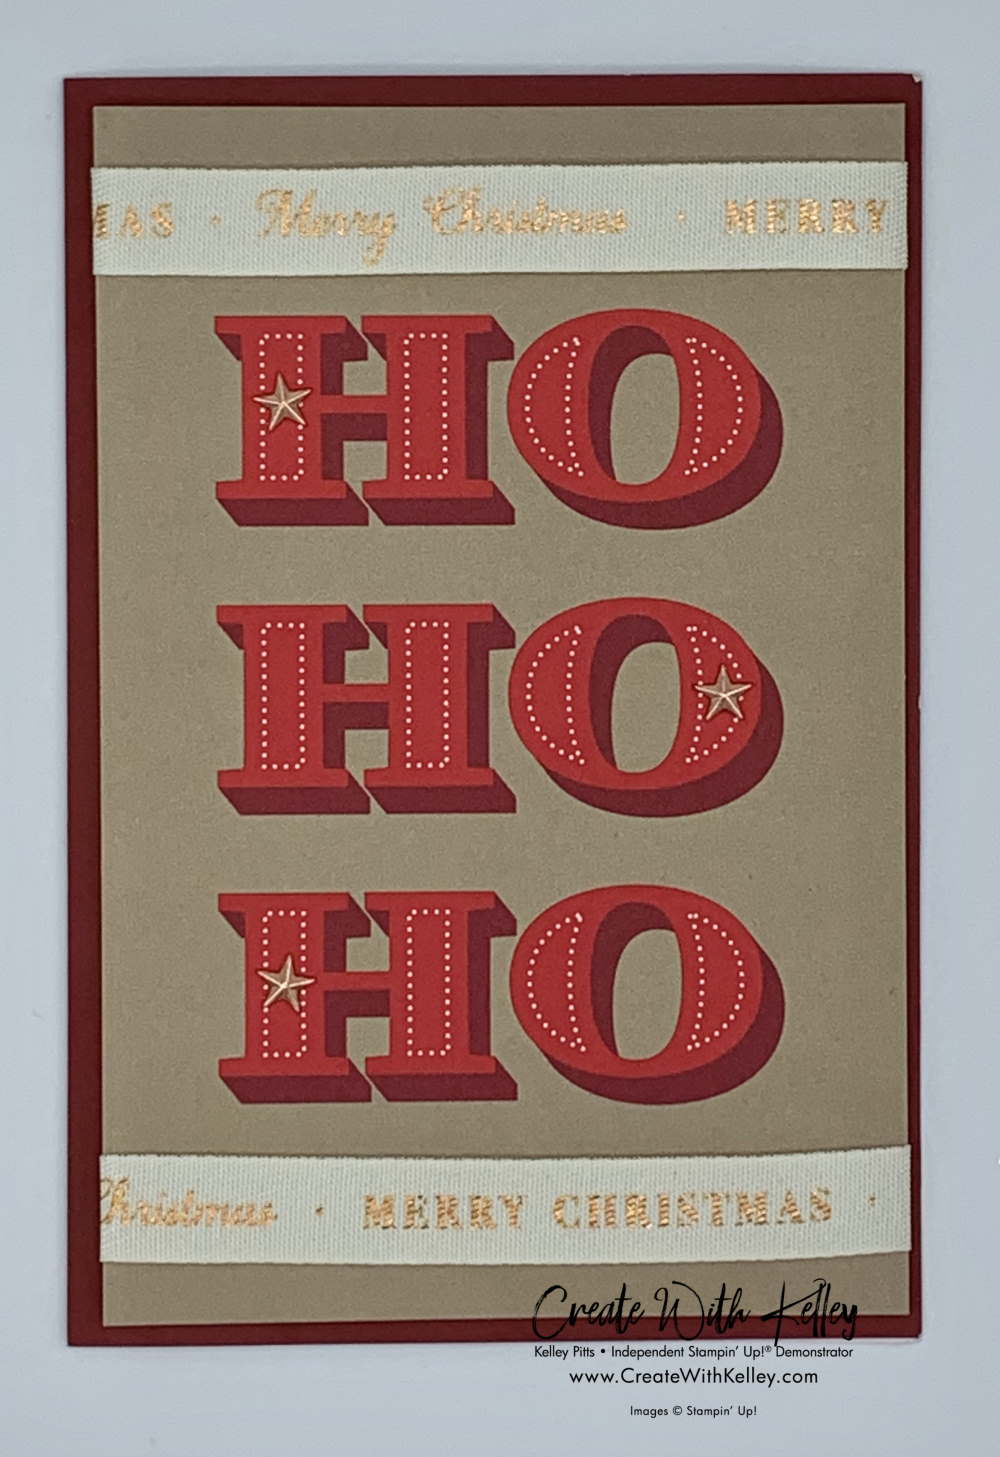
Another option for the HO HO HO is to use the full card front instead of cutting it out (but you won’t have that frame to use later on another card). Then just add some Brightly Gleaming Suite copper Star Designer Elements and some Classic Weave Ribbon for a simple but elegant look.
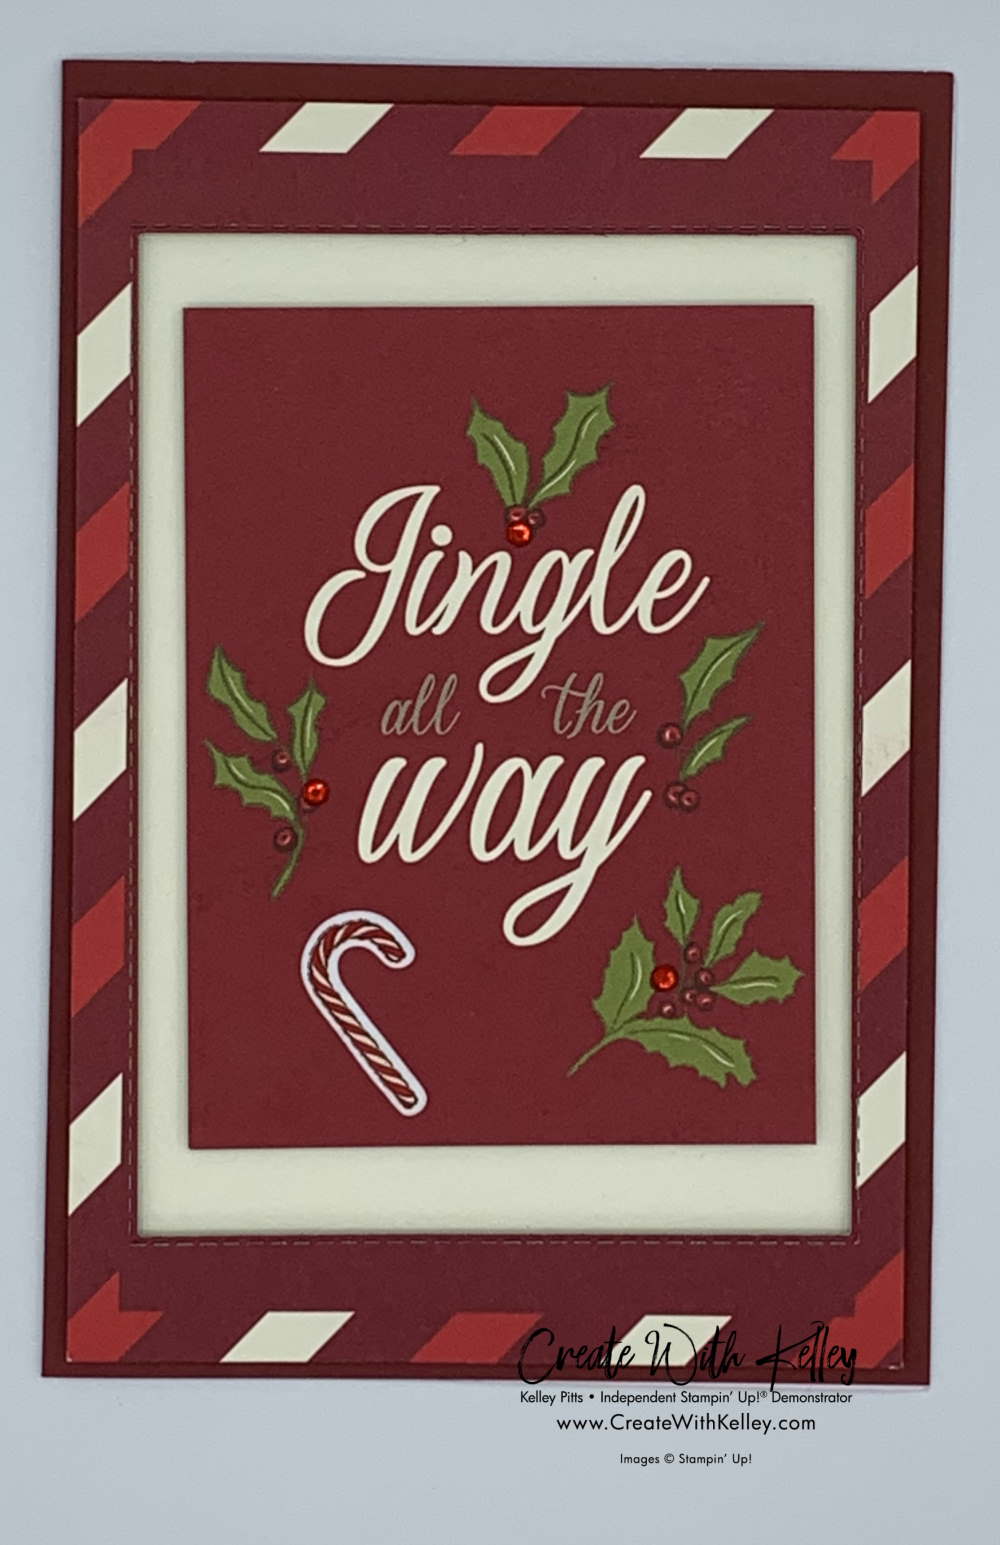
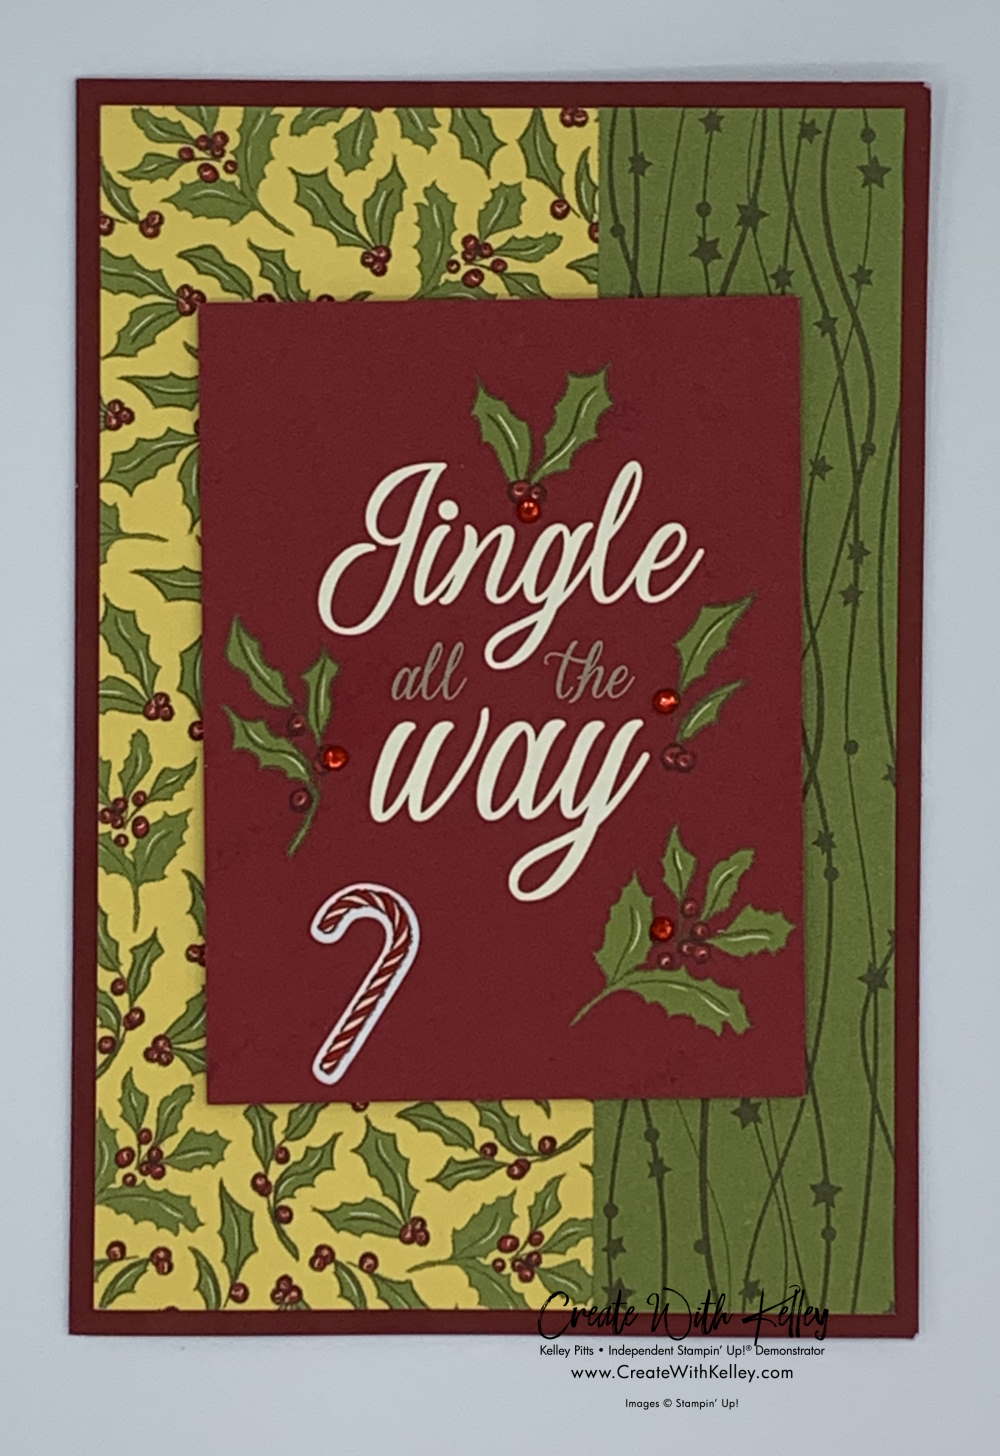
For this Jingle All The Way card, you’ll use the red/white striped frame that cut from the reverse side of the HO HO HO card. Glue the frame to a 4″ x 5 1/2″ piece of Mossy Meadow (or Old Olive if you want brighter) card stock. Dimensional the Jingle card that is dressed up with red rhinestones and a candy cane sticker. You can mount it at an angle as I did or just straight inside. As always, do it the way you like…it’s YOUR card!
Another Jingle option would be to use the striped frame from the leftover back of the Holly Jolly Christmas card with a 4″ x 5 1/2″ Very Vanilla mat behind it. Red rhinestones and a candy cane make it festive. (You’ll only have this frame available if you don’t use it on the HO HO HO card. Decisions, decisions!)
 I would be remiss if I didn’t share another optional Jingle card with DSP instead of the frame just in case you chose to leave your HO HO HO card intact. Who would have thought Crushed Curry would work for a holly background. Ha!
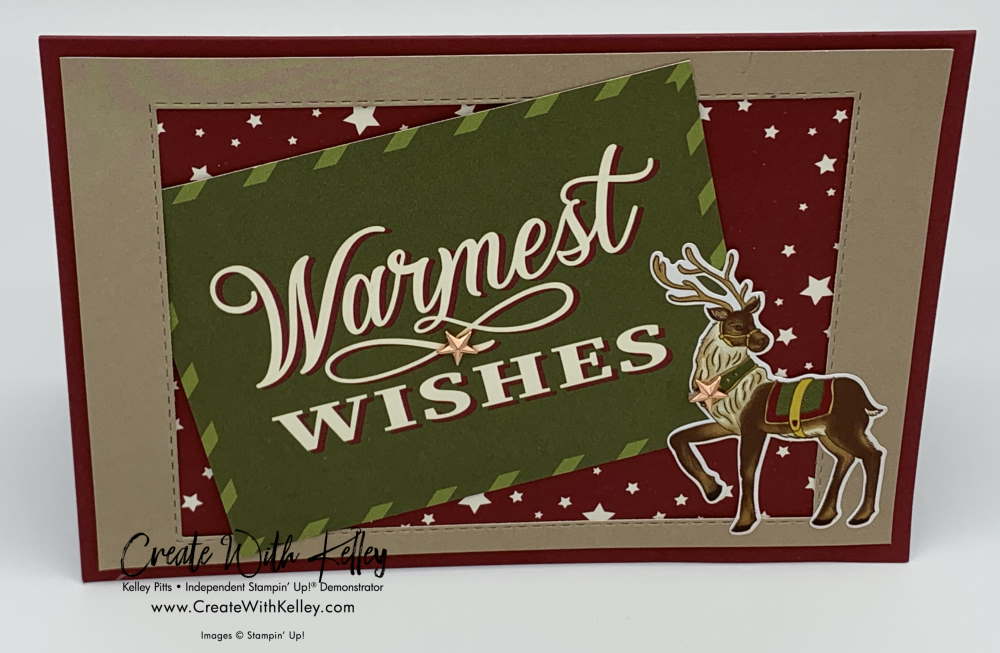
For this Warmest Wishes card, I recommend diecutting some Crumb Cake into 4″ x 6″ then cutting out the inside of the frame with a large Stitched Rectangle die. (Optional: Use the Crumb Cake side of the frame left after cutting out the HO HO HO with the Stitched Rectangle die if you don’t use its peppermint side on the Jingle All the Way card shown above.) Some Wink of Stella and copper Star Designer Elements top it off nicely, but some extra rhinestones wouldn’t hurt a thing.
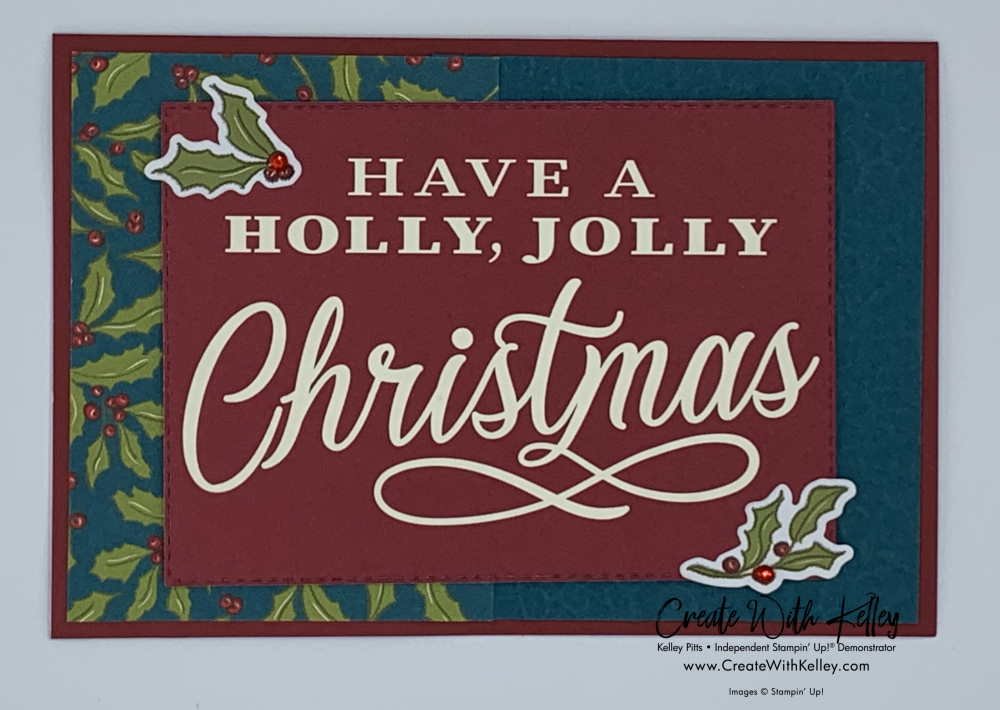
Non Santa folks alternative: Flip the Letter To: Santa card over and use the lovely holly paired with some Pretty Peacock card stock. (I ran mine through the Hammered Metal 3D Embossing folder first.) Diecut the Have a Holly Jolly Christmas out with a Stitched Rectangle, add two holly stickers and some red rhinestones and you’re done. (Save the frame you cut off the Holly Jolly card to use later.)
The Christmas season was so busy that I didn’t finish my holiday posts and get my blog published before these cards retired. SO I’m just going to stop right here. As the 2020 Christmas season approaches if you discover you still need more information about these options, feel free to contact me. Thanks!

These are great. Especially for those of us who send out lots of cards you don’t have invest as much time to get out a lot of cards quickly.