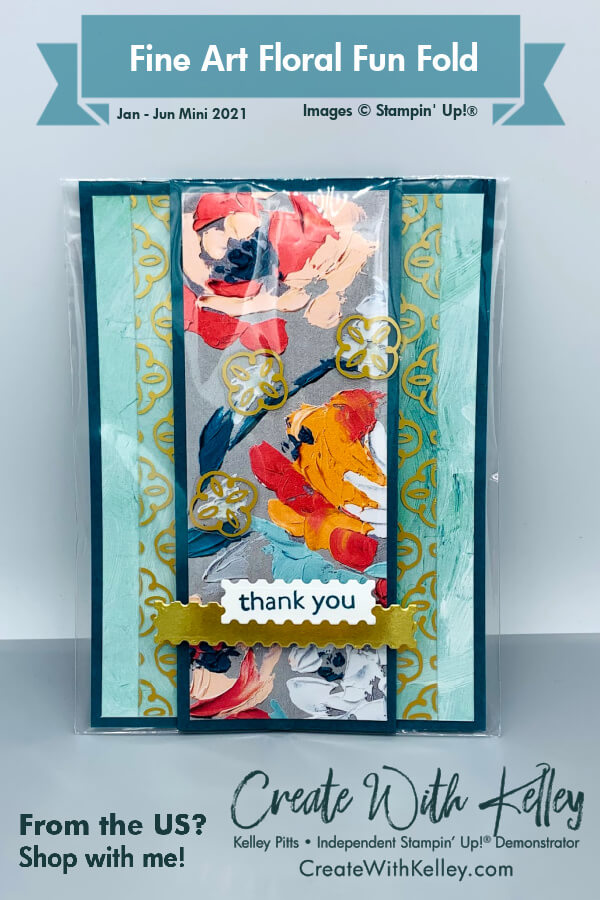
Fine Art Floral Fun Fold for Kylie Bertucci’s January 2021 International Highlights
The GORGEOUS Fine Art Floral suite allows SIMPLE cards to shine!
Saying Thank You with a beautiful handmade card surely warms each recipient’s heart, don’t you think? My SIMPLE yet elegant January Thank You card measurements, instructions and product list are below the following Blog Highlights information. (After January 5th I’ll add products from the January – June Mini 2021 catalog to my Product List.)
I’m excited to participate again in Kylie’s International Blog Highlights with my January Thank You card that will be sent to one of my online customers this month. I hope you’ll take time to vote for your five favorite cards from the highlights (hopefully including me!) by clicking: https://bit.ly/KyliesInternationalHighlightsJanuary2021VoteForMeHere
If you are receiving this blog update by email you can click HERE to see the amazing gallery.
The top ten winners based on your votes will be able to participate in the actual International Blog Hop at the end of December. One of my goals this year is to make it into the top ten one month!
Have a great first month of 2021!

Measurements:
- Pretty Peacock card stock: 5 1/2″ x 8 1/2″, scored at 2″ & 3 1/8″ from each (short) end
- Fine Art Floral DSP: 2″ x 5 1/4″; 1 3/4″ x 5 1/4″ (x 2) and 3/4″ x 2″ scrap
- Whisper White card stock: 2″ x 5 1/4″ and scrap
- Golden Garden Designer Specialty Acetate: 1″ x 5 1/4″ (x 2), plus scraps
- Gold foil scrap

Instructions:
- Adhere floral DSP to middle panel and two painted DSP to side panels per photo.
- Adhere white panel to back with scrap strip added.
- Fold along score lines per photo.
- Cut acetate to 5 1/4″ x 12, then trim one edge off so you can cut even 1″ strips, each with 1/2 medallion, full medallion, 1/2 medallion as shown on photo.
- Strategically place glue dots under the small circles in the middle of each acetate strip and attach to DSP.
- Fussy cut small medallions from acetate scrap and strategically place on selected flower centers with glue dots in center.
- Die cut white strip with small scallop die and gold foil with large scallop die from the Floral Gallery Dies.
- Stamp “thank you” from Art Gallery Stamp set in Pretty Peacock ink.
- Carefully adhere bottom edge of white greeting with liquid glue onto top of gold foil layer, then pop up the gold layer with foam adhesive strip or mini Dimensionals.
Before you head off to make this card, please vote for me first at this link: https://bit.ly/KyliesInternationalHighlightsJanuary2021VoteForMeHere
I hope you’ll also subscribe to my blog at CreateWithKelley.com. I’d love to hear your comments and I’ll be happy to answer any questions. Thanks!
Product List: Product List
|
|
|||
|
|
|
||
|
|
|
|
|
|
|


Fabulous, floral, fun fold card! Thanks Kelley for being part of my International Blog Highlights this month and all the best with the voting!
Thanks for offering this opportunity!
I love this card Kelley!
Good! It’s one of our swap cards!