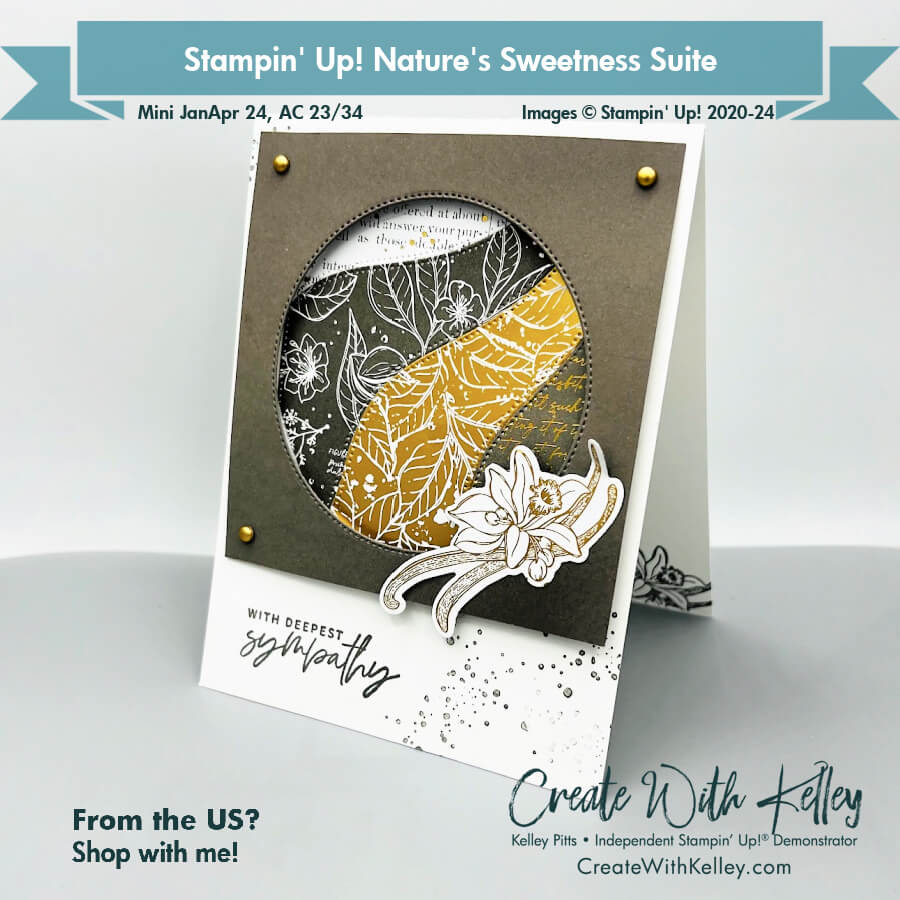
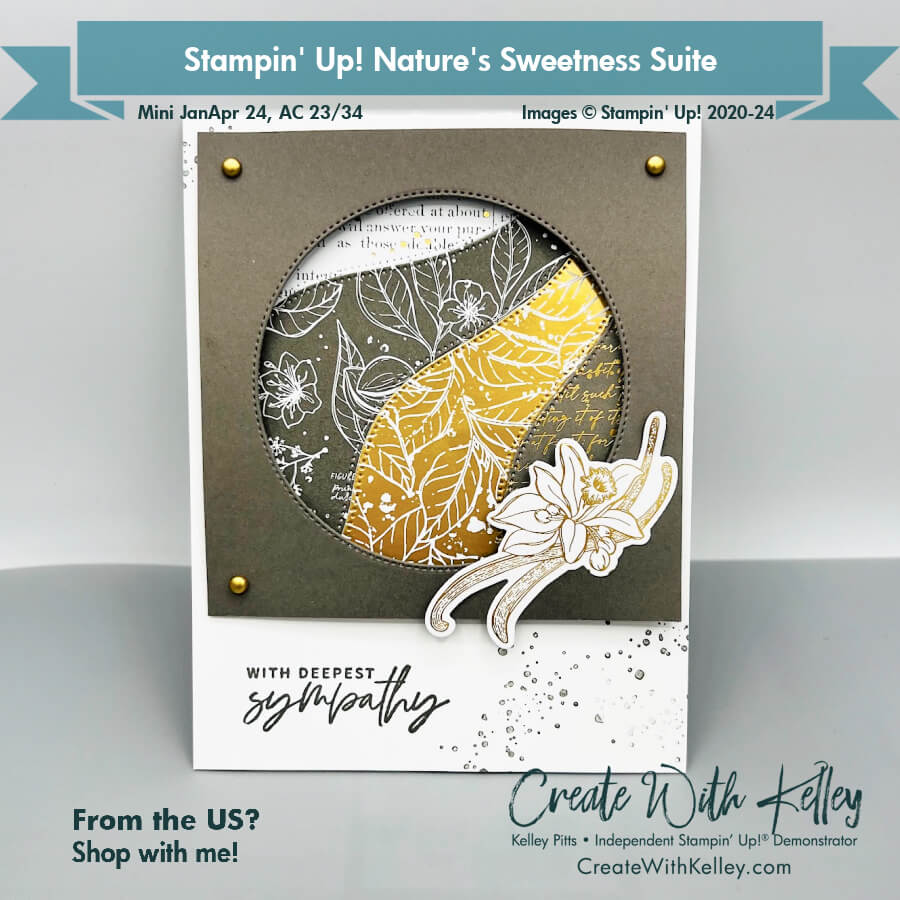
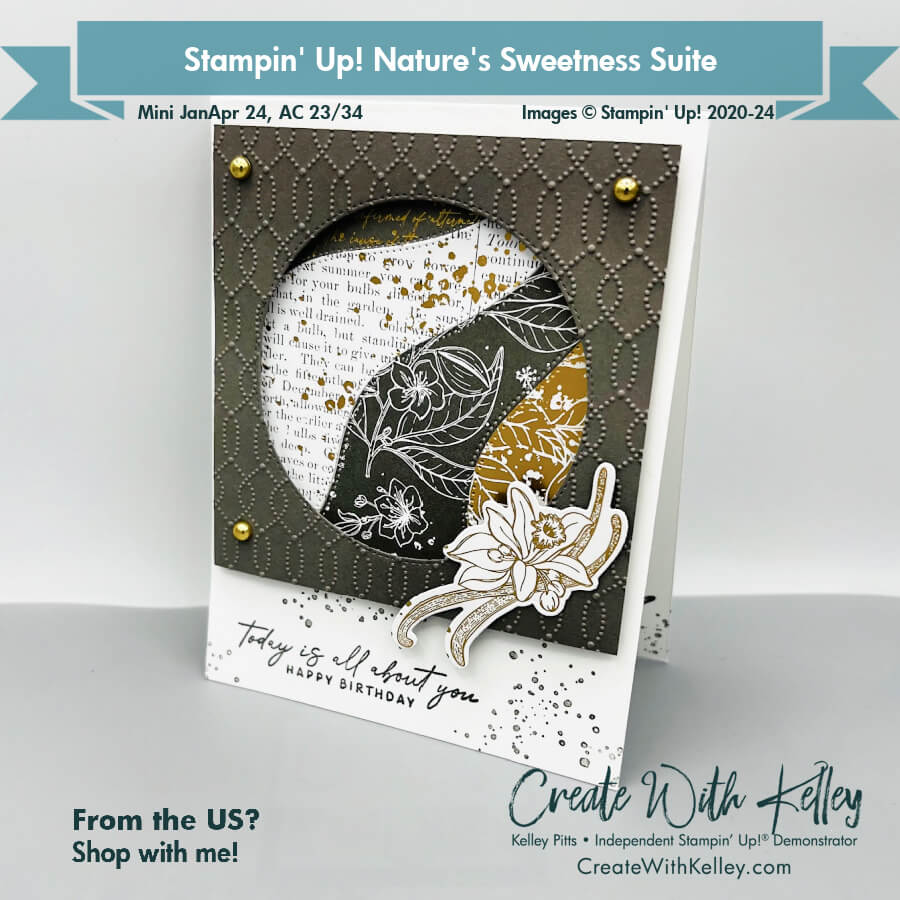
CWK features Stampin’ Up!® Nature’s Sweetness Suite with Patchwork Pieces
These rich neutrals really shine when paired with the gorgeous gold foil accents. They make a simple card look elegant.
This sympathy card could easily transform into a wedding, birthday, congratulations, masculine, anniversary card and more. Just change up the bling and the sentiment and Voila!
This version (from my video linked below) shows how you can jazz up the same card a bit by adding some brighter gold embellishments (Blooming Pearls) and a 3D embossing folder (Softly Sophisticated), change the sentiment to birthday…and it’s a new look!
Measurements:
- Thick Basic White cardstock: 4 1/4″ x 11”, scored at 5 1/2″ (x 4 for 4 cards since the DSP makes 4 cards)
- Basic White or Thick Basic White cardstock: 3 3/8″ x 3 3/8″ to mount the DSP diecut pieces onto (x 4 for 4 cards since the DSP makes 4 cards)
- Pebbled Path cardstock: 4″ x 4 ” (x 4 for 4 cards since the DSP makes 4 cards)
- Nature’s Sweetness DSP: 3 1/2″ wide x 4″ tall (pay attention to direction when cutting DSP) x 4 sheets of different patterns that coordinate well with each other in size, color, scale, etc.) NOTE: Cutting the DSP like this makes 4 cards with each pattern in a different position.
Instructions:
- Decide which DSP sheets look best together, considering:
- different size prints (scale),
- different but coordinating background colors
- mixing metallic and plain sheets
- one sheet ties in all the colors used in the other sheets if possible.
- Stack 4 pieces of DSP in a pleasing order.
- Select the top sheet and diecut with Patchwork Pieces die, then the next sheet and so on. (NOTE: to prevent DSP waste, sheets will not cover the entire die.)
- Just line up the die leaving a small even border on the bottom, top and right side. (The top will be cut off, but that portion will be covered up later.
- Lay the die on the table cutting side up so you can see the pattern, then lay out 4 stacks of the DSP in the pattern order of the die.
- Line up the bottom right corner of the DSP, then go to the next pattern that butts up next to it and so on.
- Once everything is where it should be, adhere the far right corner of the white square with Seal, and then Seal the others. (Trim off excess DSP as needed.)
- Emboss the Pebbled Path square if desired.
- Attach a foam adhesive in a circle around inside the back of the diecut Pebbled Path circle.
- Mount the Pebbled Path square onto your desired position over onto the DSP/white square.
- Stamp desired greeting and splatter stamp on the front and inside as desired.
- Glue flat the back of the DSP square to the cardbase.
- Add embellishments and vanilla flower diecut as desired.
- You’ll find more details and another card version (that added the Simply Sophisticated 3D Embossing Folder from SAB and the Blooming Pearls that are a carryover item) on my 1/13/24 videos linked on YouTube here or Facebook page here.
Product List:
|
|
|
||
|
|
I hope you’ll subscribe to my blog at CreateWithKelley.com, like my Facebook page at Create With Kelley, join my Facebook group called Create With Kelley Crew, and watch and SHARE my You Tube videos at Create With Kelley Pitts. I’d love to hear your comments and I’ll be happy to answer any questions. Fun times ahead!
Kelley Pitts (Create With Kelley) Contact Information:
- Address: PO Box 64334, Lubbock, TX 79464-4334
- Cell: (806) 790-0061
- Email: kelley@createwithkelley.com
- Mailchimp Email signup . Please choose your email preferences when you signup.
- Website/blog/shopping/calendar: CreateWithKelley.com
- Facebook business PAGE (Create With Kelley) Please like/subscribe/follow and share my videos!
- Facebook GROUP (Create With Kelley Crew) Please join!
- Facebook & You Tube Lives via Streamyard: Saturdays at 10:30 am CST (unless otherwised notified)
- You Tube channel: Create With Kelley Pitts
- Pinterest: Create With Kelley


Kelley this card is outstanding! Love the cut out. A perfect symoathy card.
Thanks. It was my first time to use that die.