CWK features Stampin’ Up! Merry Bold & Bright Stripe
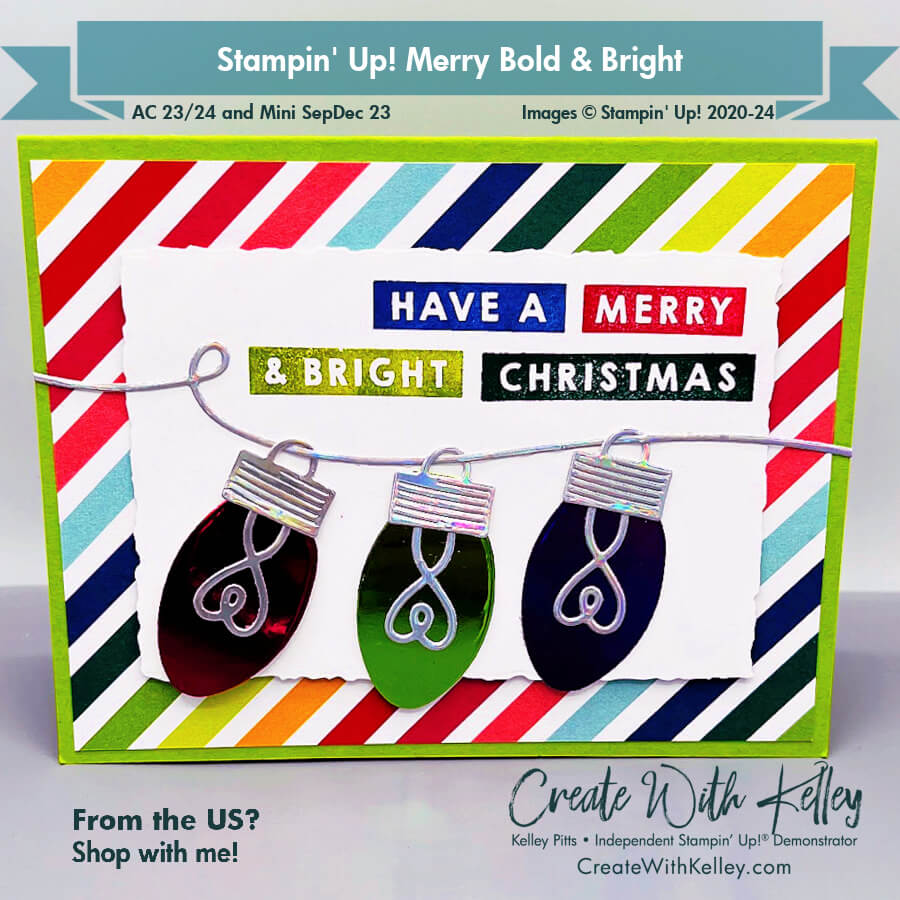
These gorgeous Foil papers make the CUTEST light bulbs. I’m sorry the photo doesn’t showcase them well. They’re FUN!
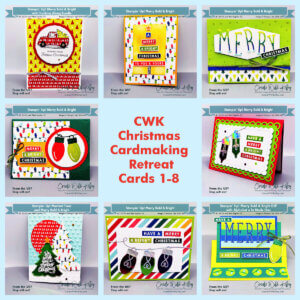
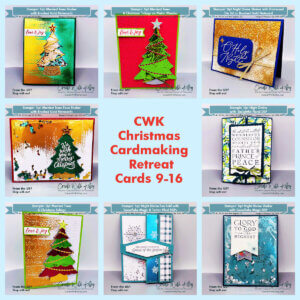
It’s fun to change up the color scheme from just the typical Christmas red and green. This card is one of 16 I featured at my Christmas Cardmaking Retreat on Oct. 27/28.
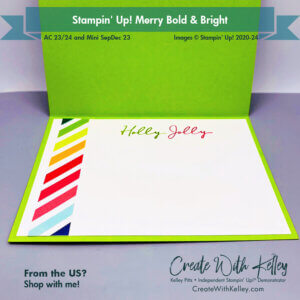
The little strip of striped DSP and the fun Holly Jolly greeting add a merry zip to the inside.
Measurements:
- Granny Apple Green cardstock base: 5 ½” x 4 ¼”
- Basic White cardstock: 4″ x 5 ¼”; 4 ¾” x 3 ¼” ish to diecut with deckled rectangle
- Holographic Trio Silver Foil” 1 ¼” x 6” to diecut cord; plus 1 ¾” x 1 ¾” ish(x 2) to diecut 3 bases and 3 filaments
- Holographic Trio Blue/Purple sheet: 2 ¼” x 1 ½” ish or scrap to diecut light bulb
- Granny Apple Green Foil: 2 ¼” x 1 ½” ish or scrap to diecut light bulb
- Melon Mambo Foil: 2 ¼” x 1 ½” ish or scrap to diecut light bulb
- Merry Bold & Bright DSP: 4” x 5 ¼” (I die cut out another smaller rectangle from the inside to use on another card); plus ¾” x 4” strip for inside
Instructions/Tips:
- I recommend using adhesive sheets for the silver foil if you can.
- Cut, score and diecut as noted and pictured.
- Lay out each word stamp with its selected color. Stamp one at a time onto the cardstock, beginning from the Merry at top right, then do Have A.
- Drop down to next line and stamp Christmas on the line below, then stamp the & Bright next to it.
- For the inside layer, Ink up the Holly portion of the stamp and stamp it in Granny Apple, then clean the stamp and ink up Jolly in Melon Mambo.
- Adhere inside stamped layer to the card base and adhere the DSP to it.
- Add a glue dot to the top of each bulb and add the silver base on top of it (unless you used adhesive sheets for the bases).
- Add the filaments to each bulb with tiny dots of glue so you don’t smear onto the foil (or just peel the backing off the adhesive sheet and adhere.)
- Audition your pieces, then run the cord through the loops on each base. You can add more glue to the bases if you want, or just let them hang freely after adhering the cord to the stamped deckled rectangle.
- Pop up the rectangle with Dimensionals.
- See my 11/4/23 LIVE videos with details on these links on my YouTube channel: Create With Kelley Pitts and my Facebook page: Create With Kelley.
I plan to post all 16 of these cards to my blog, but if you want a handy PDF with all of them together so it’s easy to print, please consider purchasing my Christmas Cardmaking Retreat PDF. Contact me if you’re interested and we’ll work out payment via Venmo or Zelle or PayPal or something. Thanks.
Product List:
|
|
|||
|
|
|||
|
|
Typical Additional Basic Product List:
|
|
|
|
|
|
|
|
|
|
|
|
|
|
|
|
|
Please subscribe to my CreateWithKelley.com blog to receive:
- Create With Kelley Crew’s News: Monthly newsletter
- Stampin’ Up! sales, news, updates
- Create With Kelley’s calendar featuring cardmaking experiences/events with signup links
- Create With Kelley Card Kits To Go and/or online classes
- Lots of cardmaking inspiration!
I’d love to hear your helpful comments and I’ll be happy to answer any questions. Thanks! Hope you’ll join me soon for in-person or online cardmaking experiences! FUN times ahead!
Kelley Pitts (Create With Kelley) Contact Information:
- Address: PO Box 64334, Lubbock, TX 79464-4334
- Cell: (806) 790-0061
- Email: kelley@createwithkelley.com
- Mailchimp Email signup . Please choose your email preferences when you signup.
- Website/blog/shopping/calendar: CreateWithKelley.com
- Facebook business PAGE (Create With Kelley) Please like/subscribe/follow and share my videos!
- Facebook GROUP (Create With Kelley Crew) Please join!
- Facebook & You Tube Lives via Streamyard: Saturdays at 10:30 am CST (unless otherwised notified)
- You Tube channel: Create With Kelley Pitts
- Pinterest: Create With Kelley


Leave a Reply