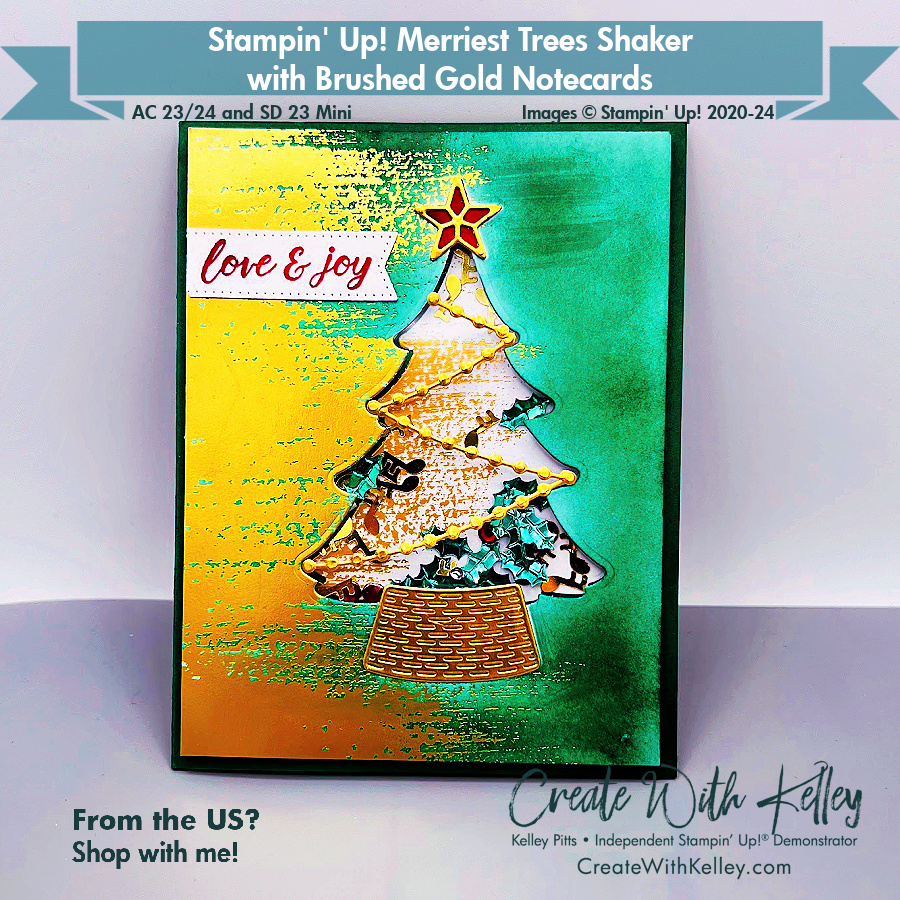
CWK features Stampin’ Up! Merriest Trees Shaker with Brushed Gold Notecards
I designed this card to show an easy way to change up the looks of the Brushed Gold notecards by using a blending brush with Shaded Spruce ink.
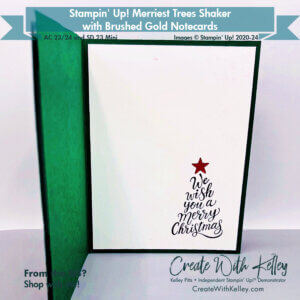
You can choose simple stamping on the inside, or jazz it up a bit. Whatever you like to do!
Measurements:
- Shaded Spruce cardstock: 5 ½” x 8 ½” scored at 4 ¼”
- Brushed Gold Card: Cut down to 4” x 5 ¼”, then diecut the 4 branch tree out of it, leaving room to add the star on top and the “basket” below it. Set the tree aside.
- Gold foil: 2 ½” x 3 ¼” ish: diecut out the bauble strings, basket and star
- Real Red: scrap to diecut solid star
- Basic White: 4” x 5 ¼” and scrap for sentiment label
Instructions:
- Cut, score, diecut and stamp as noted in measurements, pictured here and shown on my video linked below.
- Add adhesive sheet to the back of a gold foil sheet before diecutting star, basket and bauble strings.
- Diecut the tree out of the card, then set aside.
- Brush Shaded Spruce onto the white side of the card using lots of layering to get the deep color, then wipe off the excess that gets onto the gold with a paper towel or something soft.
- Attach the window sheet to the back of the opening with glue dots.
- Add foam adhesive strips around the back of the tree onto the window sheet and add some strips to each side of the back of the card so it will all adhere evenly with the entire front popped up.
- Hover the Gold cardfront on top of the Spruce cardbase in order to position the white tree diecut underneath it, then set the cardfront aside.
- Hold the tree in place while you glue the bottom and then the top of the tree onto the Spruce cardbase.
- Pour some sequins onto the mounted tree, taking care to keep the pile in the middle and not the edges of the tree.
- Remove the backing from all the foam strips, line up the Gold card layer over the mounted tree and adhere.
- Add star, basket, baubles and other embellishments as desired.
- See my 11/6/23 LIVE video with details on these links on my YouTube channel: Create With Kelley Pitts and my Facebook page: Create With Kelley.
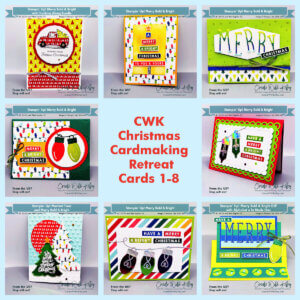
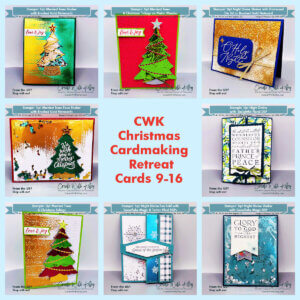
I plan to post all 16 of these cards to my blog, but if you want a handy PDF with all of them together so it’s easy to print, please consider purchasing my Christmas Cardmaking Retreat PDF. Contact me if you’re interested and we’ll work out payment via Venmo or Zelle or PayPal or something. Thanks.
Product List:
|
|
|
|
|
|
|
|
||
|
|
|
|
|
|
|
Typical Additional Basic Product List:
|
|
|
|
|
|
|
|
|
|
|
|
|
|
|
|
|
Please subscribe to my CreateWithKelley.com blog to receive:
- Create With Kelley Crew’s News: Monthly newsletter
- Stampin’ Up! sales, news, updates
- Create With Kelley’s calendar featuring cardmaking experiences/events with signup links
- Create With Kelley Card Kits To Go and/or online classes
- Lots of cardmaking inspiration!
I’d love to hear your helpful comments and I’ll be happy to answer any questions. Thanks! Hope you’ll join me soon for in-person or online cardmaking experiences! FUN times ahead!
Kelley Pitts (Create With Kelley) Contact Information:
- Address: PO Box 64334, Lubbock, TX 79464-4334
- Cell: (806) 790-0061
- Email: kelley@createwithkelley.com
- Mailchimp Email signup . Please choose your email preferences when you signup.
- Website/blog/shopping/calendar: CreateWithKelley.com
- Facebook business PAGE (Create With Kelley) Please like/subscribe/follow and share my videos!
- Facebook GROUP (Create With Kelley Crew) Please join!
- Facebook & You Tube Lives via Streamyard: Saturdays at 10:30 am CST (unless otherwised notified)
- You Tube channel: Create With Kelley Pitts
- Pinterest: Create With Kelley


Leave a Reply