Kylie’s International Blog Highlights July 2023: Masterfully Made Suite: Spiral Top
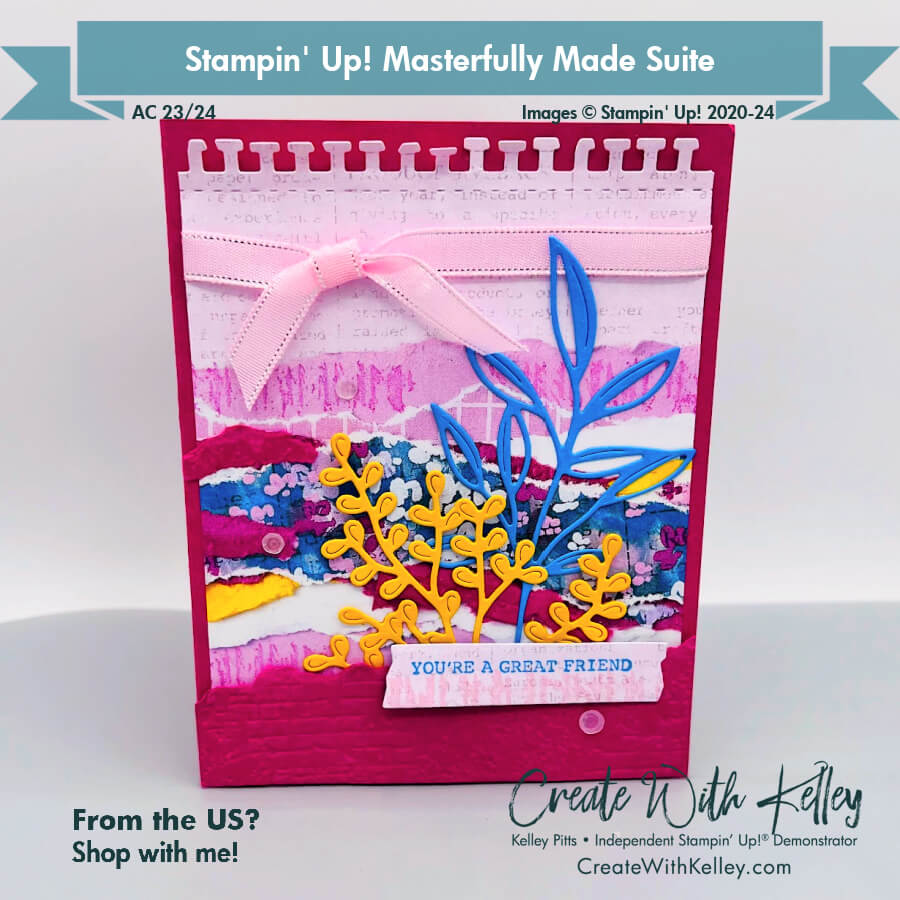
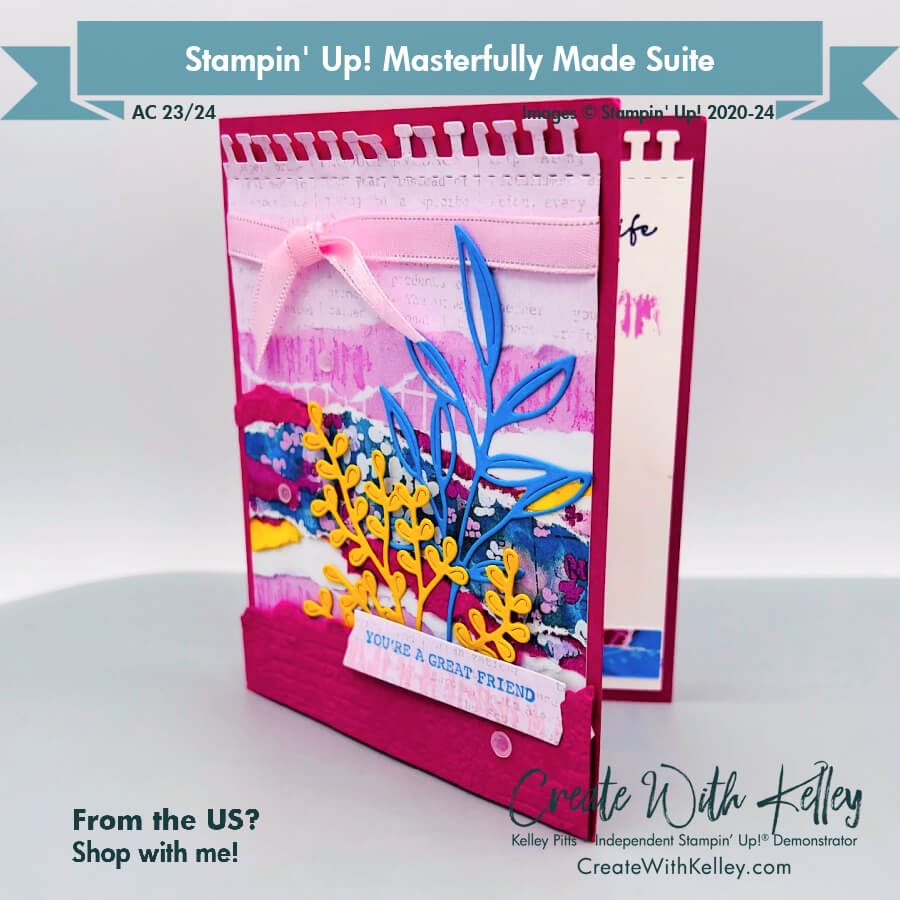
Stamping with the grass-line-looking stamp and using the Textured Brick 3D embossing folder really adds fun texture to this card. (PS This is Card #2 of 6 in my Masterfully Made Suite Class-To-Go for July.)

- I’m excited to participate again in Kylie’s International Blog Highlights with my bright and cheery thank you card.
- My card measurements and product list are below the following International Blog Highlights information.
- I hope you’ll take time to vote for up to five of your favorite cards from the highlights. (Hopefully including mine!)
- Just click: VOTE FOR MY CARD! then select my card by clicking the heart on the upper right of the photo.
- You’ll know you’ve voted for it when the heart changes color.
- The top ten winners based on your votes can participate in the International Highlights Winners Hop at the end of the month.
- PS I’ve made it into Kylie’s Top Ten three times and I’d be so grateful to share that honor again!

If you are receiving this blog update by email you can click HERE to see the amazing gallery!
Cheers for the dies in this Gorgeously Made Bundle. These leaves/plants look great diecut from every color I’ve tried so far.
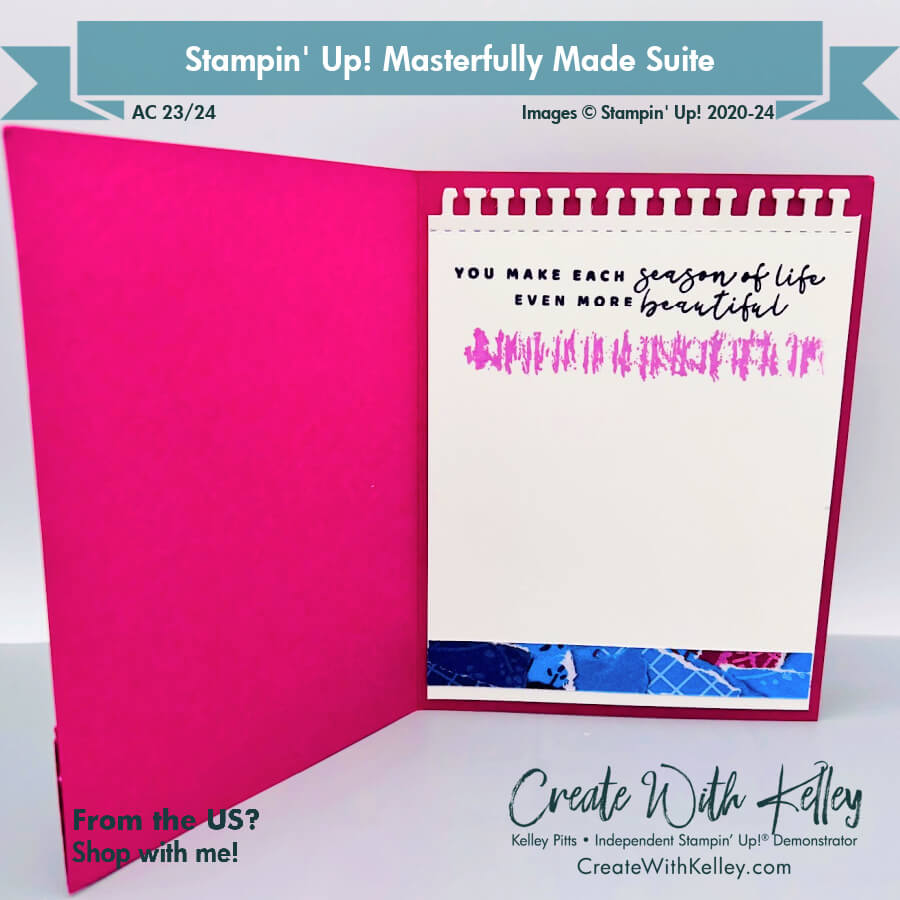
I tore a small piece of the Azure DSP in half to add a fun element repeating the front leaf color inside. You could substitute any sentiment inside, but I really love this one from the Season of Chic stamp set.
Class Card #2 Measurements:
- Berry Burst cardstock base: 5 ½” x 8 ½”, scored at 4 ¼”; and 1 ½” x 4 ¼” to be torn and textured.
- Crushed Curry: 3” x 4 ¼” ish for diecut
- Azure Afternoon: 3” x 4 ¼” ish for diecut
- Gorgeously Made DSP with Freesia/Berry/floral strips as shown: 4 ¾” x 4” plus scrap to diecut label
- Gorgeously Made DSP coordinating pattern: ½” x 4”
- Basic white cardstock: 4” x 5 ¼” for inside panel
- Ribbon: 14”-15” ish
Class Card #2 Instructions:
- Cut, score and diecut as noted and pictured.
- Note: Make sure the “stitching” on the spiral die is facing toward the main portion of the DSP or cardstock before diecutting.
- Texture emboss the Berry strip, then tear off the top edge and use the leftover torn pieces (and/or scraps) to add texture over printed Berry areas on the DSP.
- Stamp off before stamping Freesia “grass” onto Freesia areas of DSP and onto label, then stamp “grass” full strength on the inside panel.
- Stamp greeting on diecut label in Azure for brighter color or in Night of Navy for darker/more visible sentiment.
- Wrap ribbon around the top of the Freesia print DSP before adhering flat to cardfront.
- Strategically adhere Azure leaves and Curry plant to the front.
- Pop up the embossed Berry strip with Dimensionals and add to bottom of cad, overlapping the DSP.
- Adhere stamped label to Berry strip.
- Stamp inside sentiment in Navy onto white panel, then adhere coordinating strip of DSP and adhere white panel inside.
- Add embellishments if desired.
- See my upcoming July 8, 2023 LIVE video with details on these links on my YouTube channel: Create With Kelley Pitts and my Facebook page: Create With Kelley.
- See photos and info on my 7/3/23 Blog post: CreateWithKelley.com
Before you head off to make this card, please vote for me first at this link: VOTE FOR MY CARD!
Class Card #2 Product List:
|
|
|||
|
|
|
||
|
|
|||
|
|
Typical Additional Basic Product List:
|
|
|
|
|
|
|
|
|
|
|
|
|
|
|
|
|
Just subscribe to my blog at CreateWithKelley.com and sign up through my Mailchimp form to receive emails about classes, etc.
I’d love to hear your comments and I’ll be happy to answer any questions. Thanks! Hope you’ll join me for in-person classes, Class-To-Go kits and online classes soon! FUN times ahead!
Kelley Pitts (Create With Kelley) Contact Information:
- Address: PO Box 64334, Lubbock, TX 79464-4334
- Cell: (806) 790-0061
- Email: kelley@createwithkelley.com
- Mailchimp Email signup . Please choose your email preferences when you signup.
- Website/blog/shopping/calendar: CreateWithKelley.com
- Facebook business PAGE (Create With Kelley) Please like/subscribe/follow and share my videos!
- Facebook GROUP (Create With Kelley Crew) Please join!
- Facebook & You Tube Lives via Streamyard: Saturdays at 10:30 am CST (unless otherwised notified)
- You Tube channel: Create With Kelley Pitts
- Pinterest: Create With Kelley


A beautiful card, Kelley!
Thanks, Kim!
beautiful colors and design!!
Thanks, Teah!
I love the bright colours, and the cute ribbon, pretty card.
Thanks so much, Rebecca!
Stunning card – love the spiral top! I’ve tried to resist it, but you’ve convinced me that I NEED this set!
I’ve made LOTS of cards with this set. Just had a class with 6 different cards…. I’ll be posting them all this week. LOVE this Suite! You do need it!
Beautiful card! Love the bright colours
Thanks so much, Maheswari!
These vibrant colours make me happy! Thanks Kelley for being part of my International Blog Highlights this month and all the best with voting!
Bright colors make me happy too! Thanks for allowing me to join your Blog Highlights.
I love the bright colors of your card and the way you used the dies and dsp! Very pretty!
Thanks so much, Robbie!